Some of the first things I purchased were comfort related but I also wanted to bring back the former luster. This Jeep had been sitting for a few years in the sun with just a cab cover for protection.
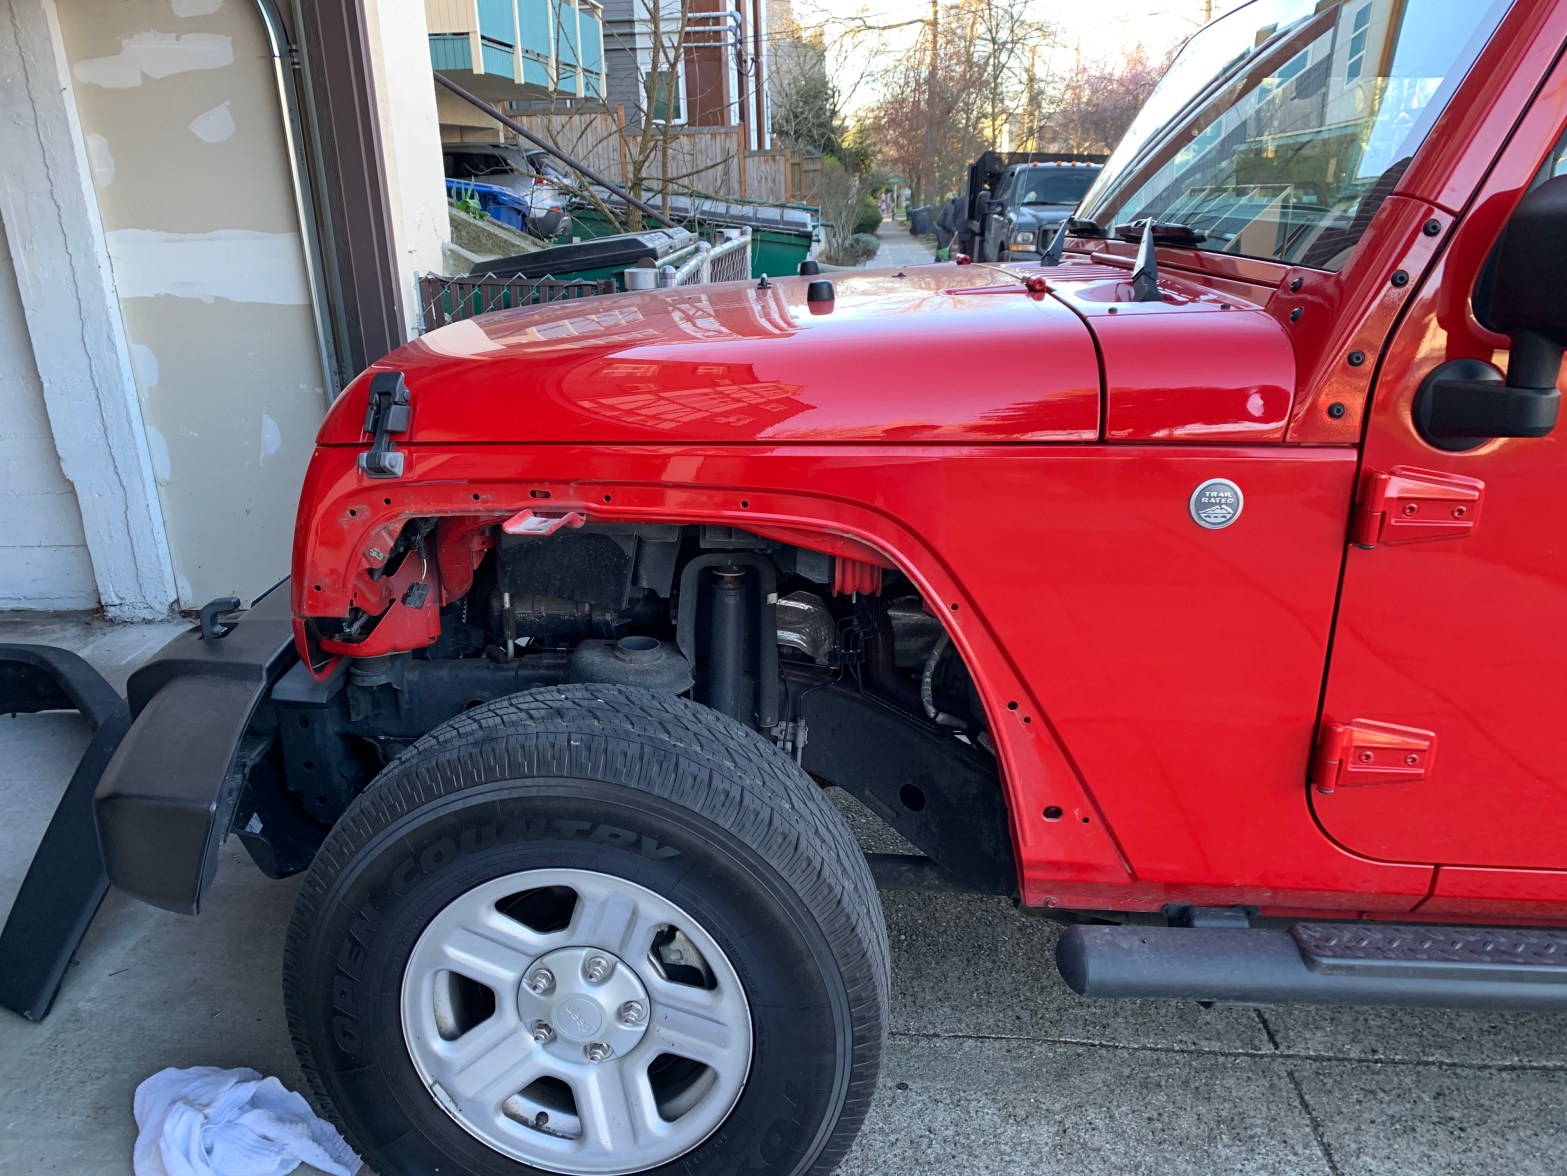
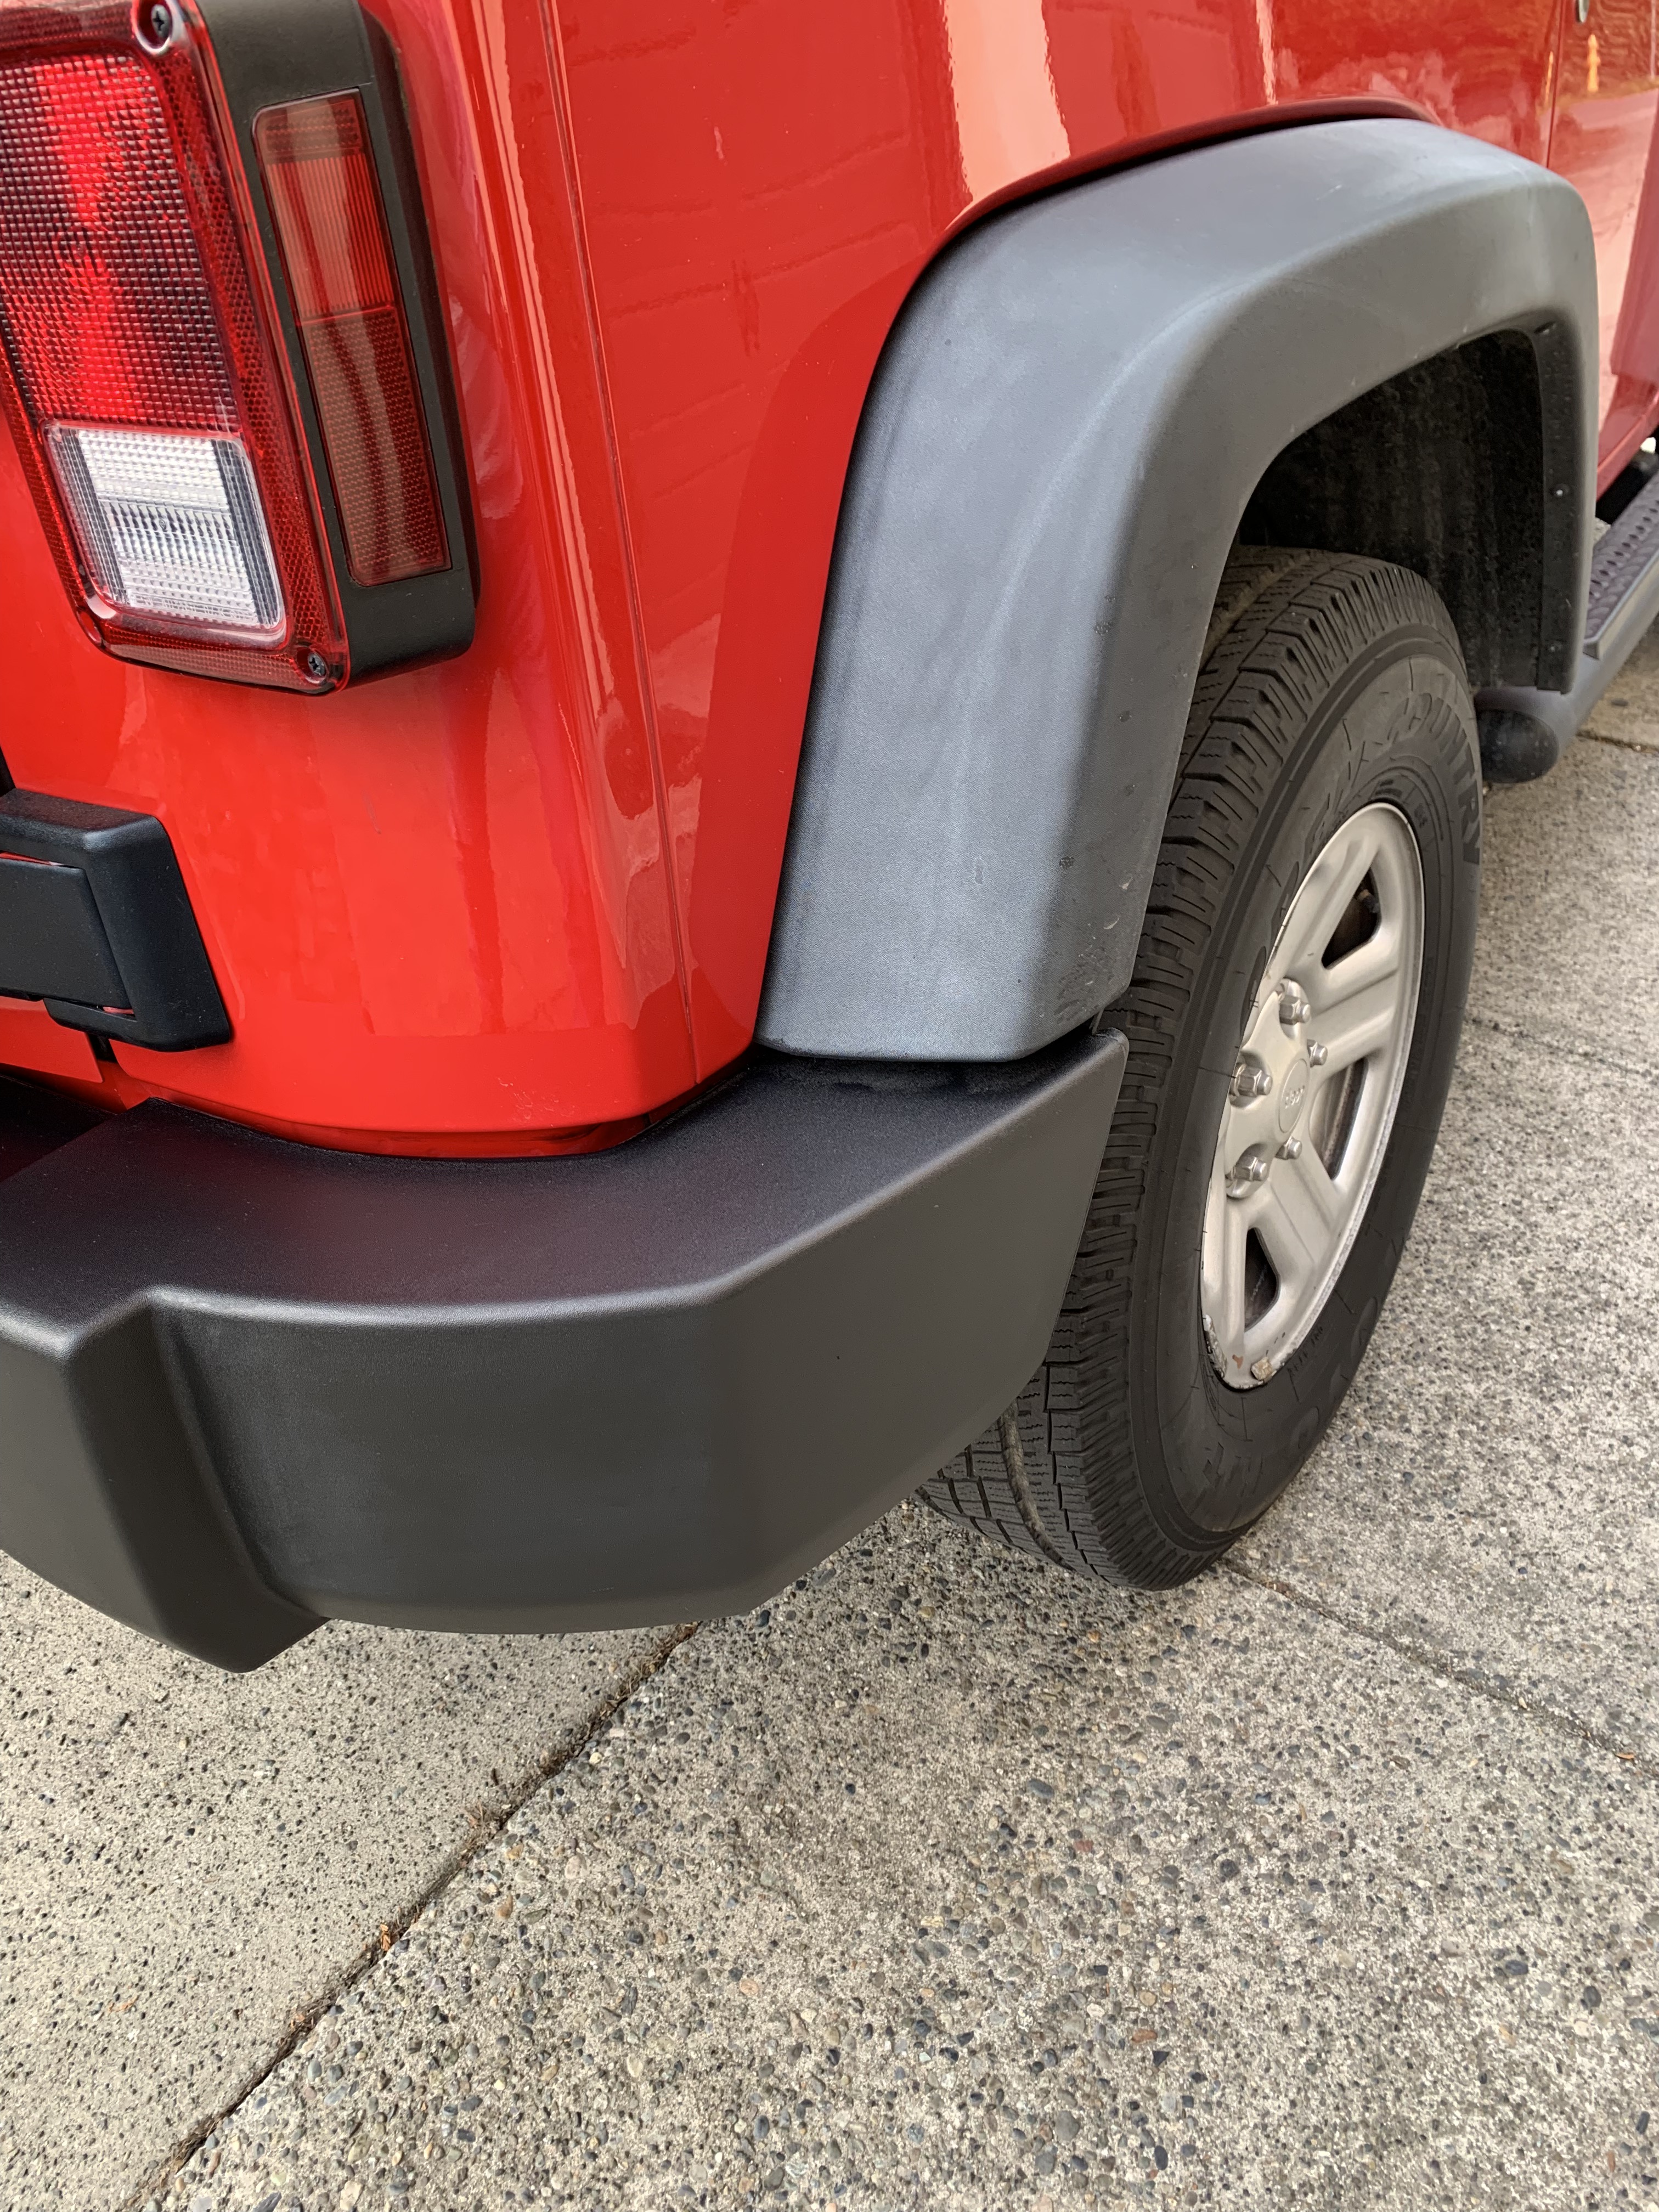
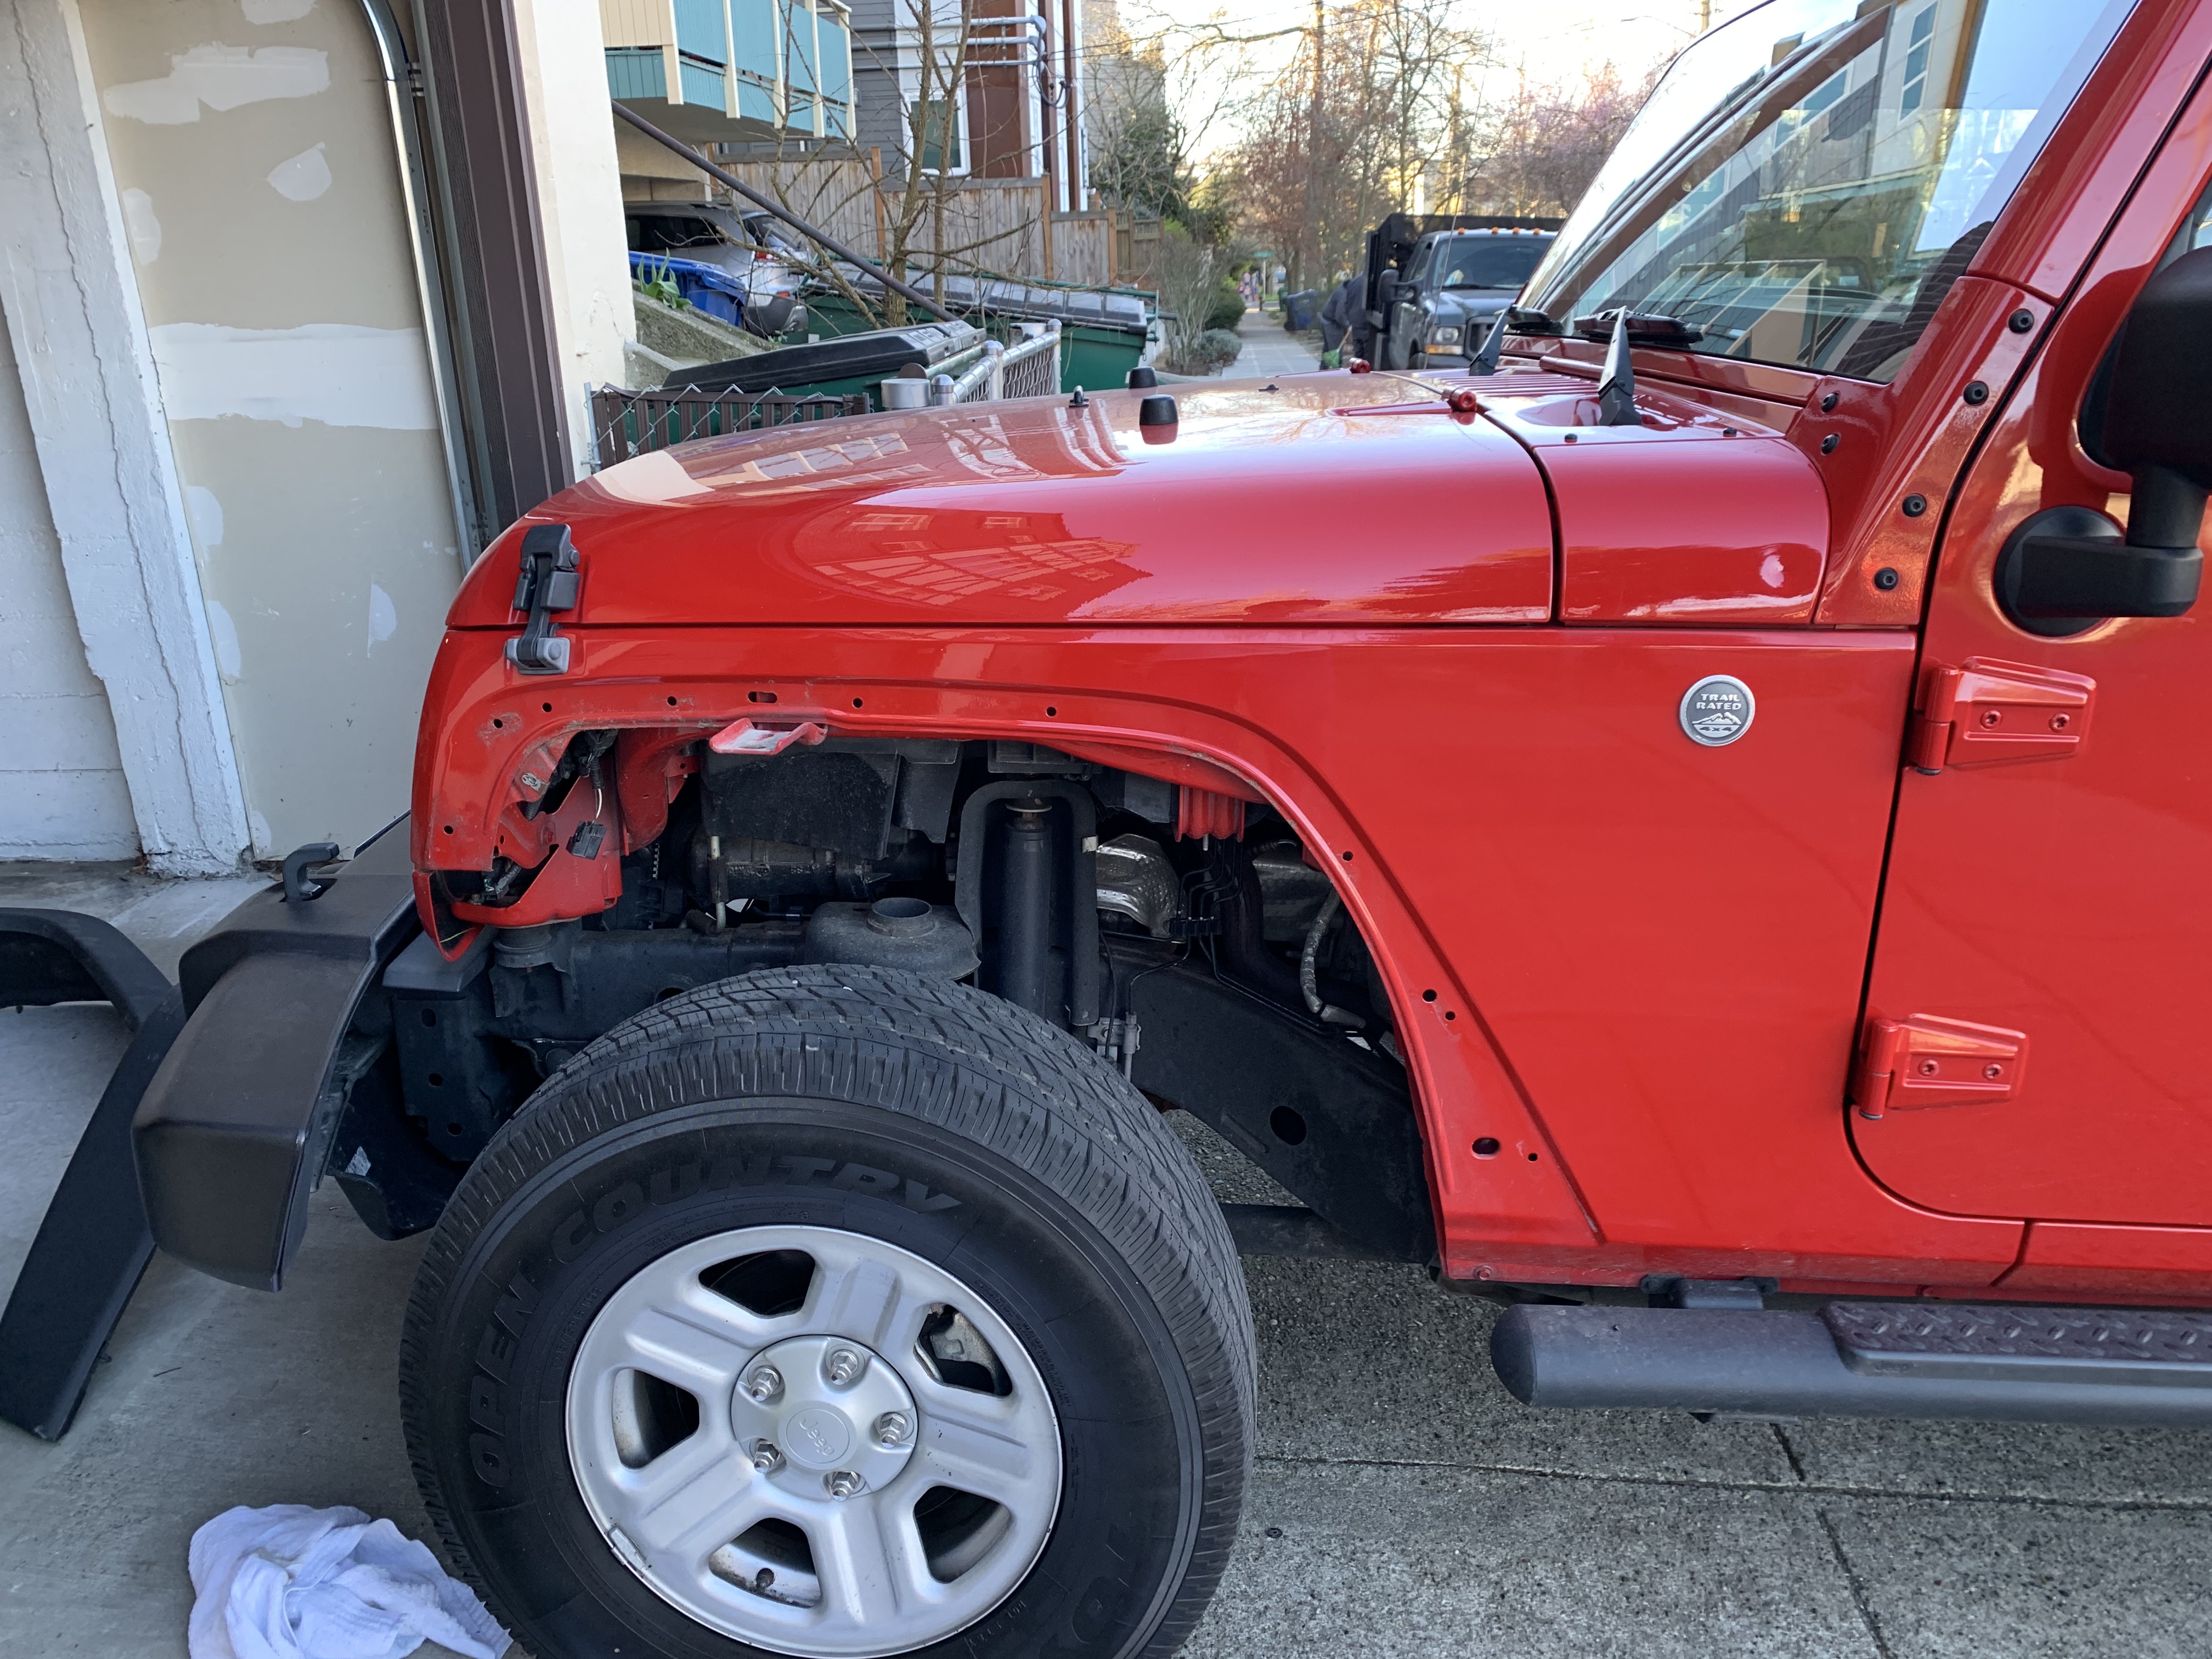
BAD decision – The fenders and most of the black trim was pretty faded so I ordered some Omix-ADA OEM style fender flares to replace them. Within a year, I upgraded to Poison Spyder Aluminum Flares. (more on that later) I had no problem with the Omix fenders themselves, they are great quality and easy to install but I could have saved some money and lived with the deteriorated plastic ones until I popped for the metal ones.
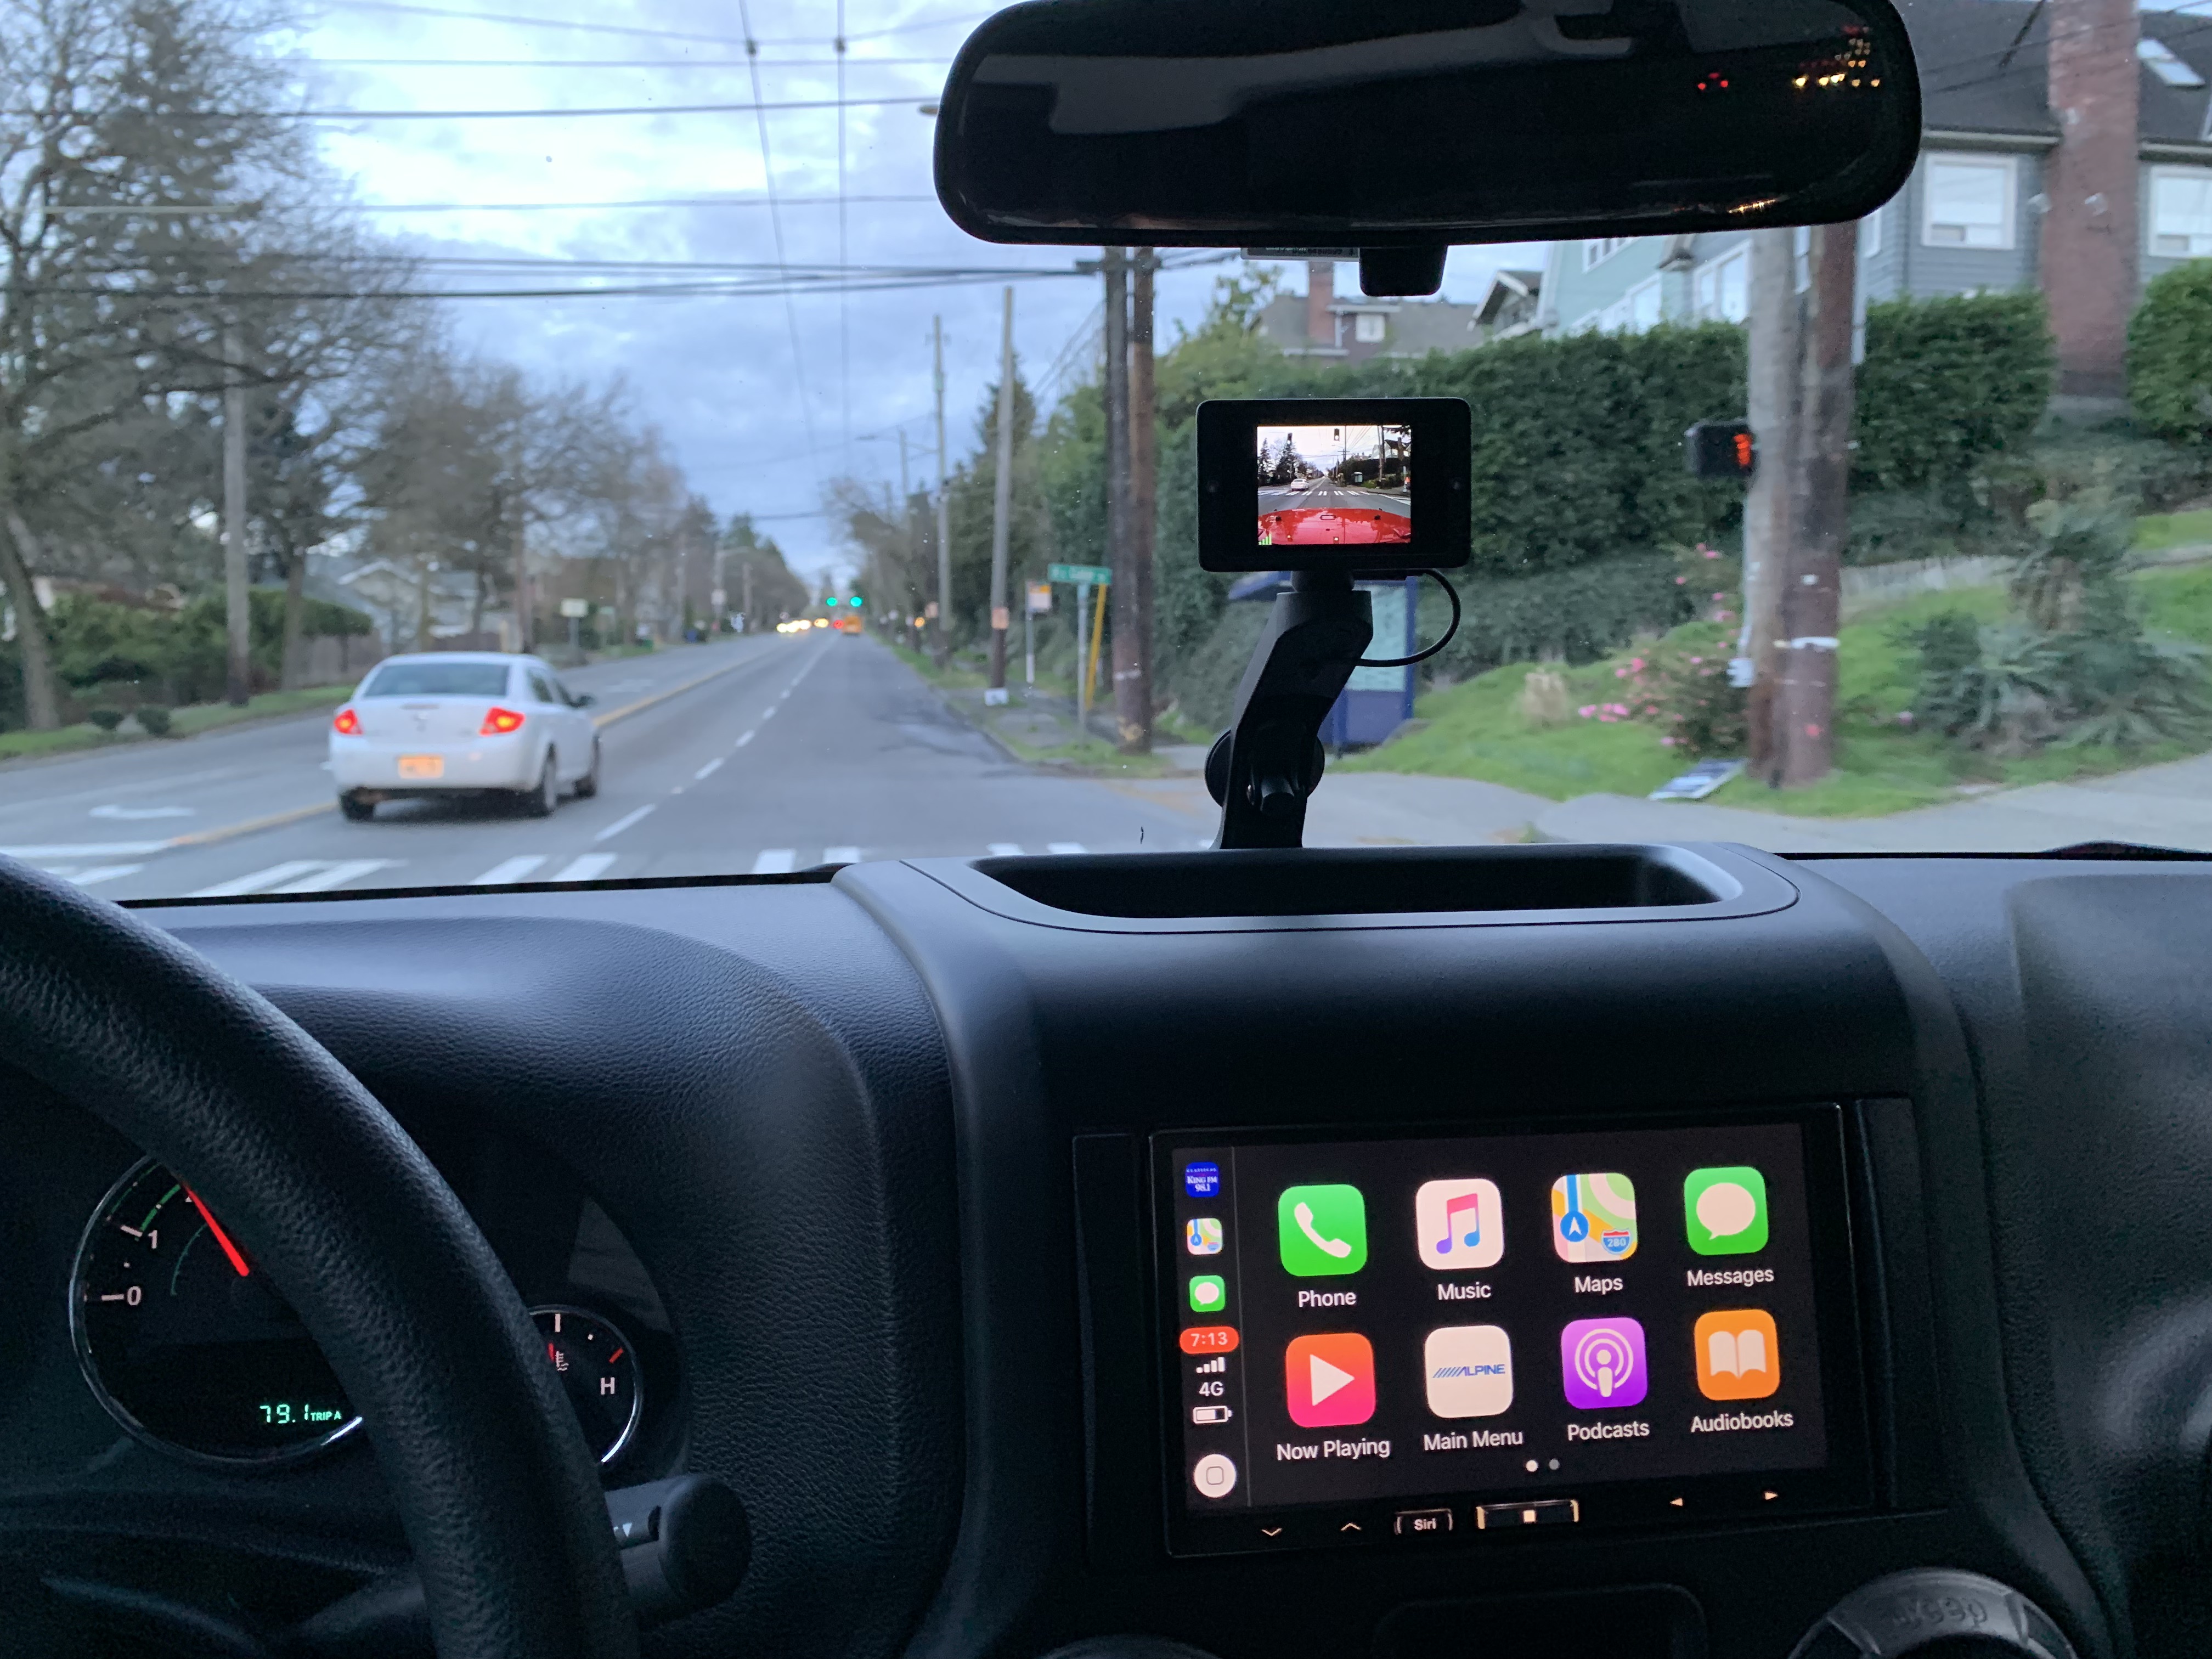
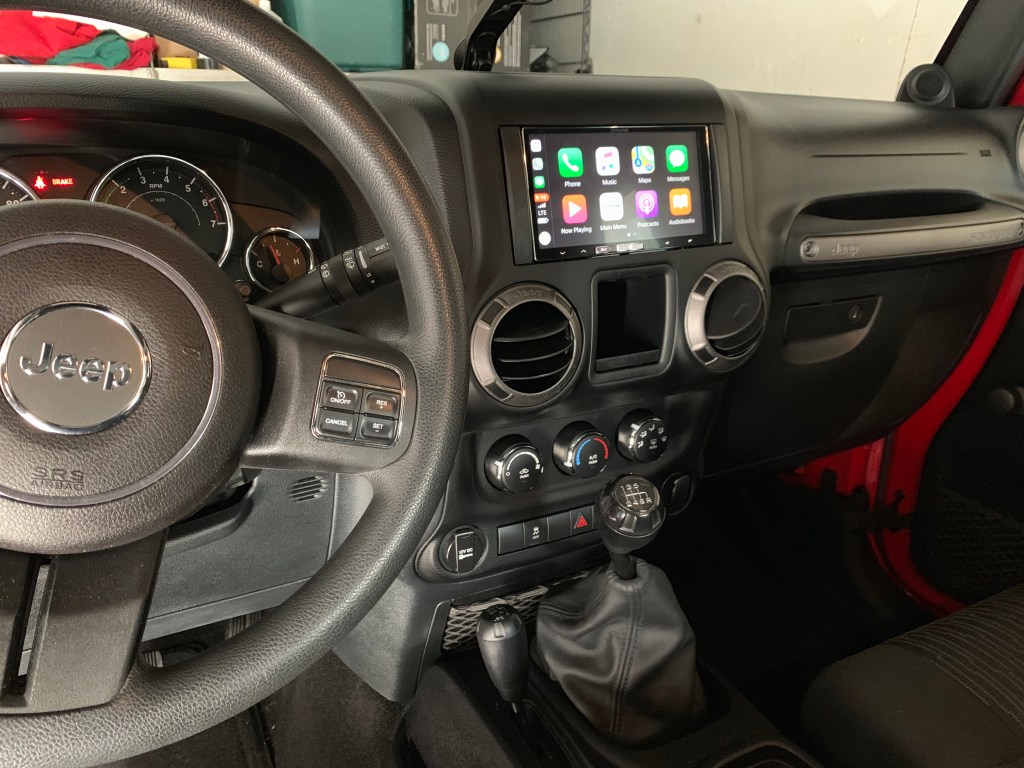
GREAT decision – As I look back, some of the best things I did the first month was to purchase an OWL Cam and replace the stock base radio with an Alpine iLX-107 Apple Car Play unit from Crutchfield
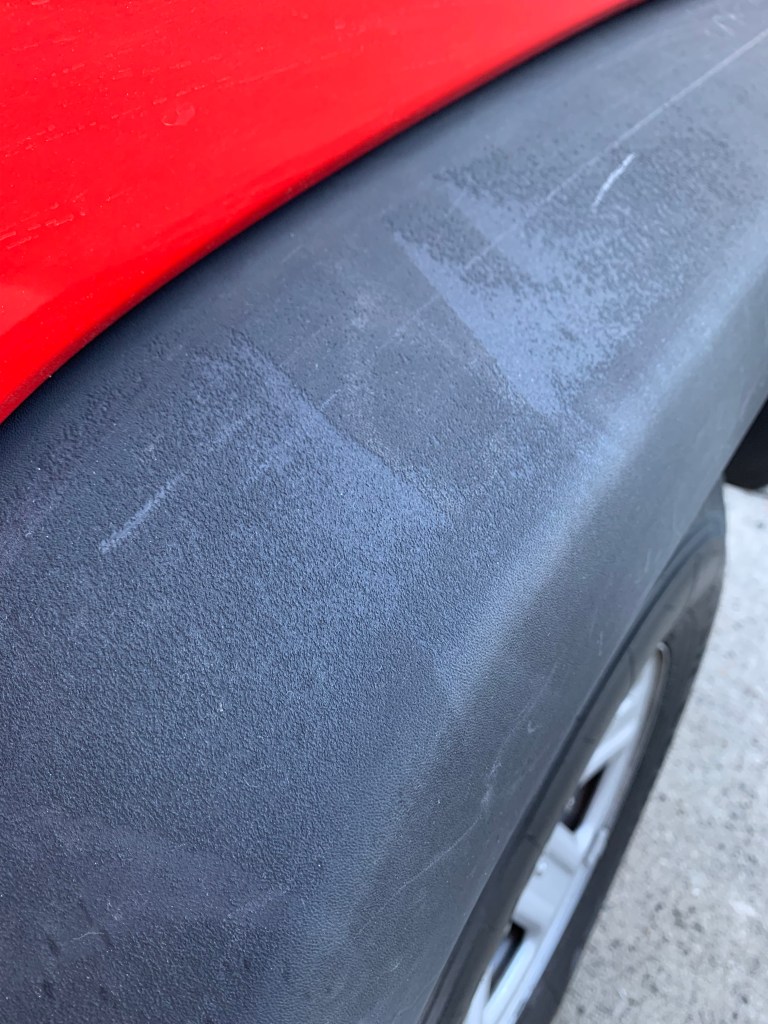
Here’s what the fenders looked like and you can see where I used some restorer to fix the faded bumpers. (The bumpers would also be gone within a few months!)
I’ll start by saying I consider myself pretty handy when it comes to taking things apart and figuring out how to put them back together but I’m no professional, just a perfectionist.
BUILD TIP – There a plenty of YouTube videos out there to look at as you start some of your projects but beware, read manufacturers directions and watch as many videos as you can because I’ve found just as many videos that give you false or inacurate information as there are good ones.
Also, be prepared with the right tools, plenty of time and make sure you have everything you need to complete the project. The fender removal and install was pretty straight forward but the install required a hardware kit that must be purchased separately from the fenders themselves.
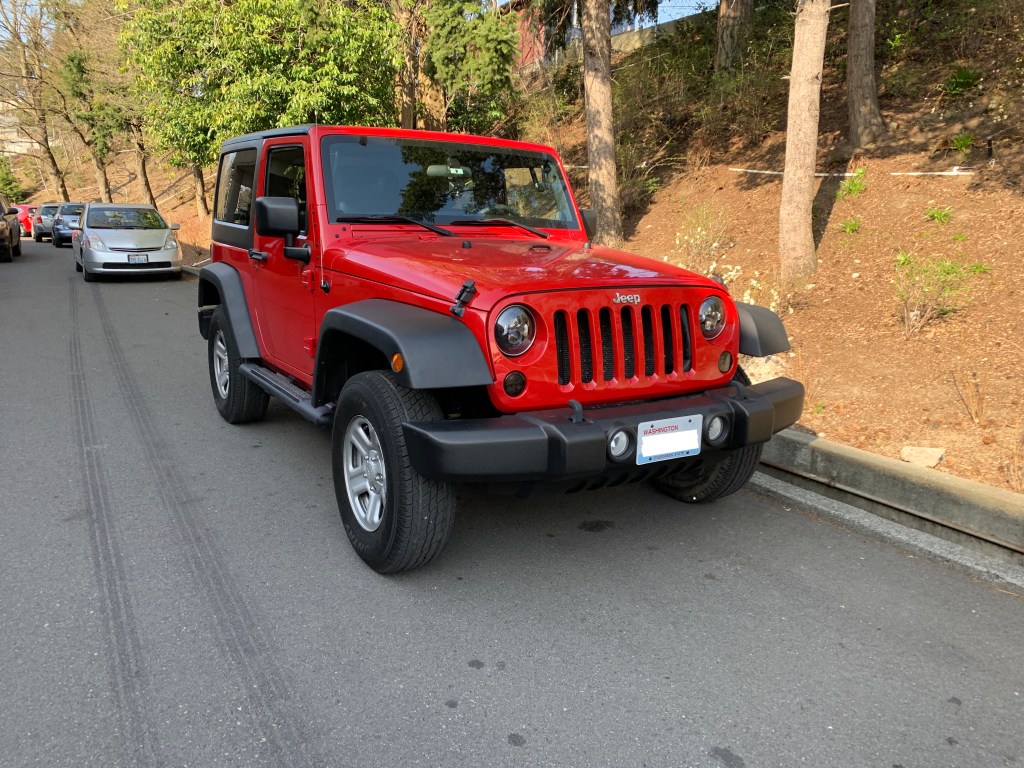
They turned out pretty nice, took about 3 hours and helped bring some shine back. You can see here that I also removed the black plastic wheel covers that were on when I picked it up.
BAD decision – If you look closely at the picture above on the right, you’ll notice I also replaced the terrible stock headlights with a pair of Axiel LED Daymaker headlamps and some Smoked LED amber turn signals. I’ll talk about it later when I switch out some KC HiLites Gravity Pro LED headlights, but I was never happy with the brightness or the beam pattern on the Axiels nor with the Axiel turn signals which I replaced due to water leaks. Sorry, but I can’t recommend Axiel with the experience I’ve had with them.
The Owl Cam was a 15 minute install, super easy, no trim removal. If you want some kind of security cam in your vehicle I’d definitely recommend Owl Cam. Compare their features and service to anything else out there and if it’s in your budget, go for it. It’s been a great system and I still use it everyday.
As for the Alpine, I opted to use Crutchfield’s ReadyHarness service that makes wiring a plug and play experience. Well worth the $25. The install of the unit required the removal of portions of the dash but Crutchfield includes awesome instructions which made installation a breeze. I also used Crutchfield’s on-line help and scheduled a call for help with installing the iDatalink Maestro ADS-MRR interface that allows you to use your steering wheel controls with the new Stereo. At the time Crutchfield had the best price and as I found, terrific customer service.
Dash pics after the Alpine and Owl Cam installation. BTW- I love Apple CarPlay and as an iPhone owner wouldn’t be without it for total handsfree communications. This install was a must for me.