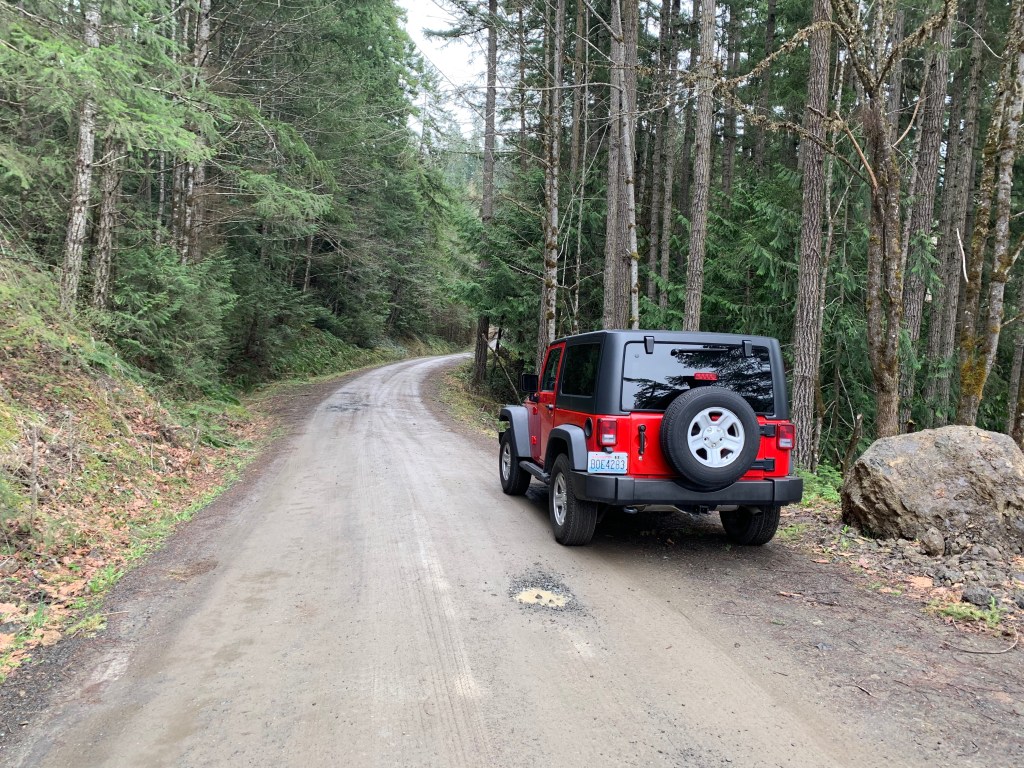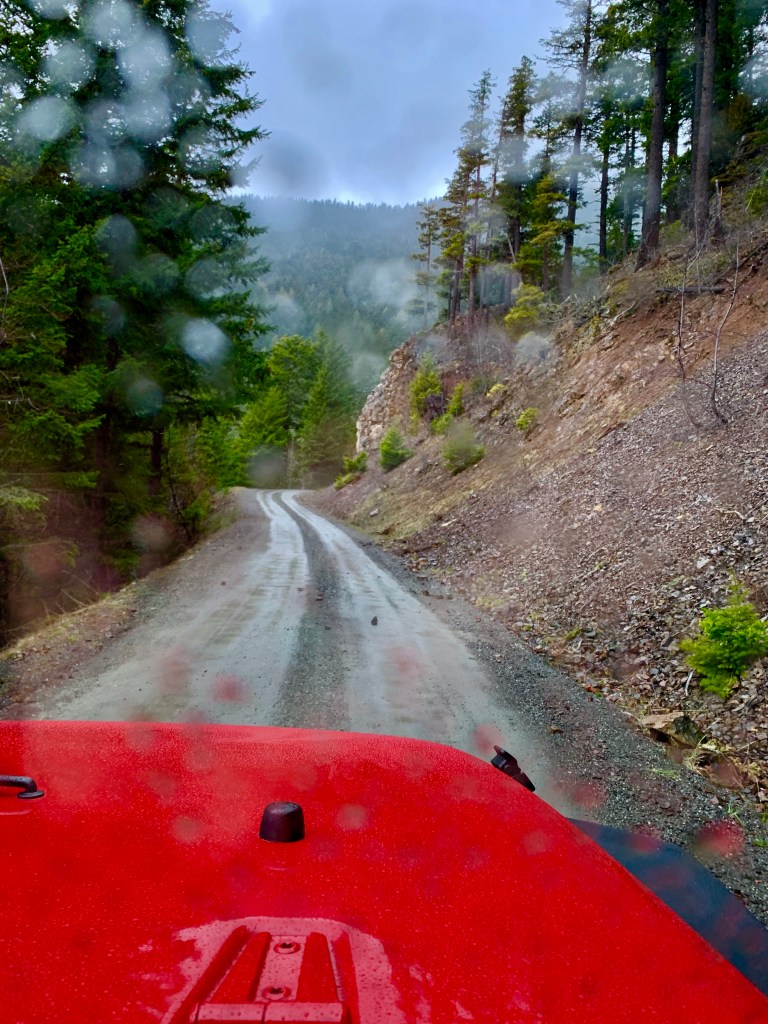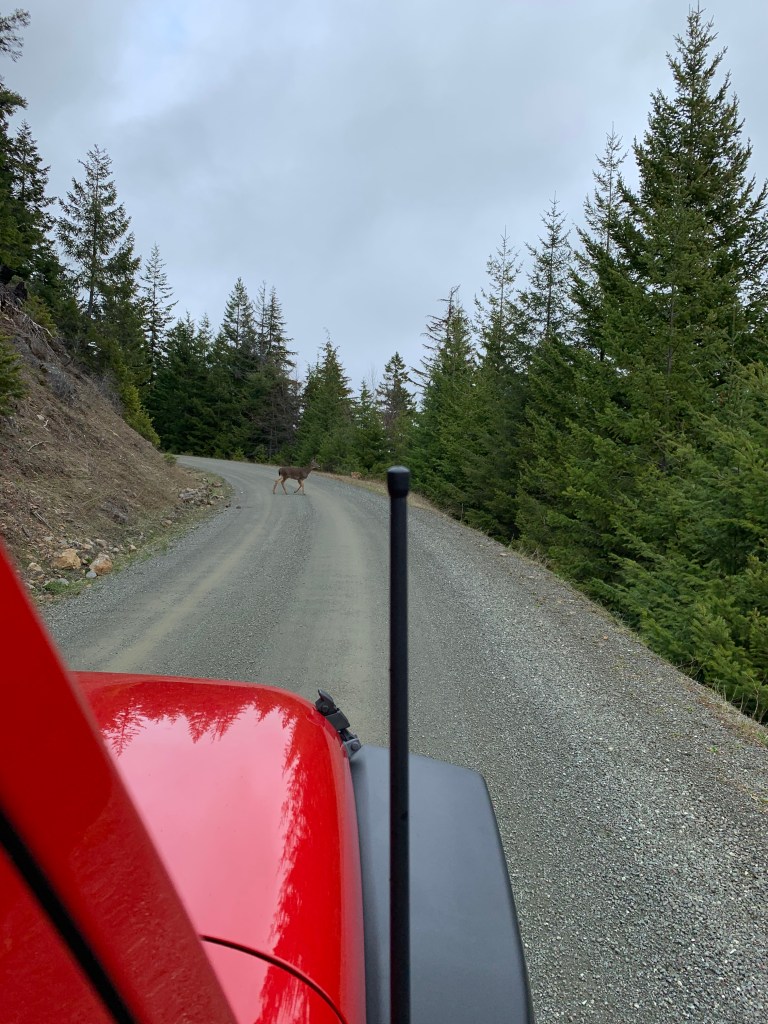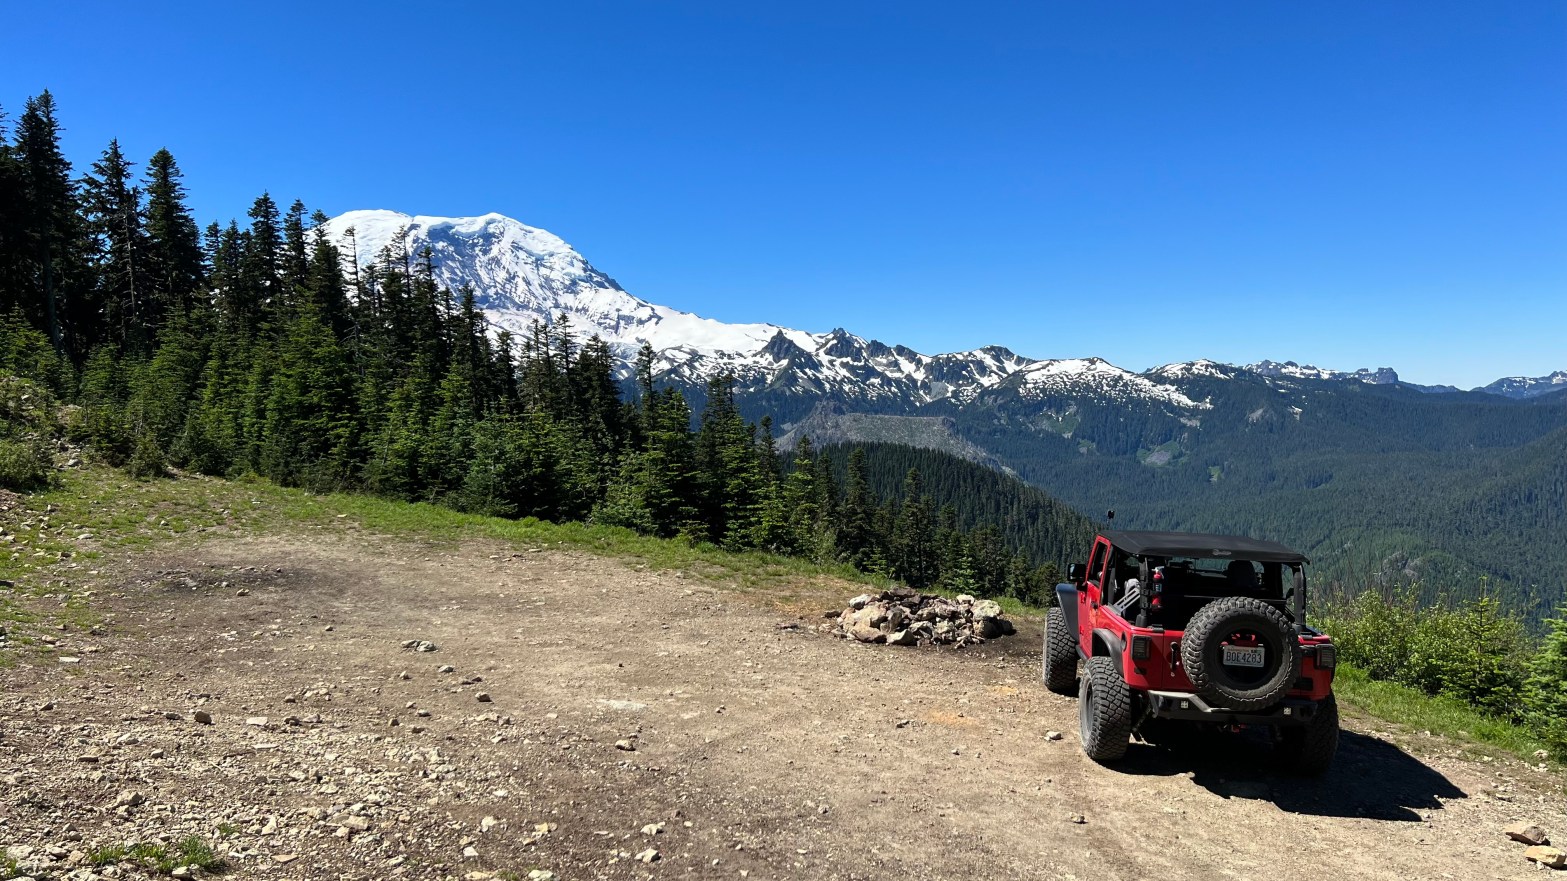
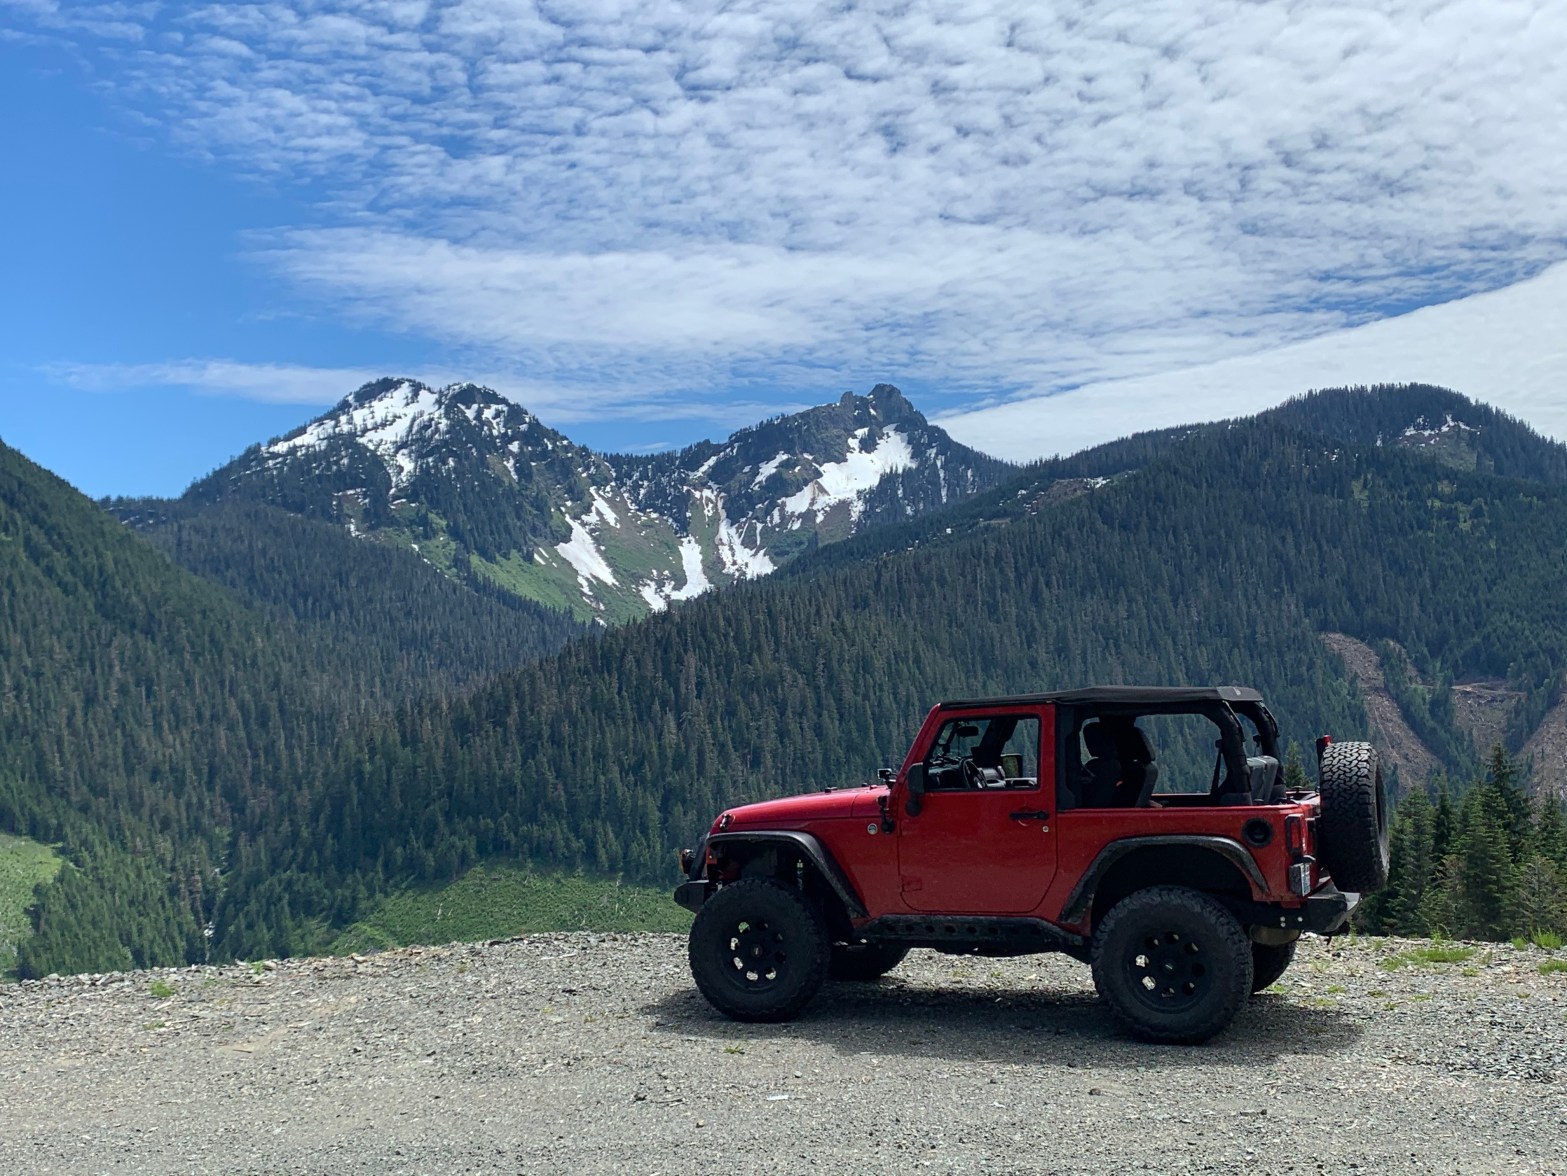
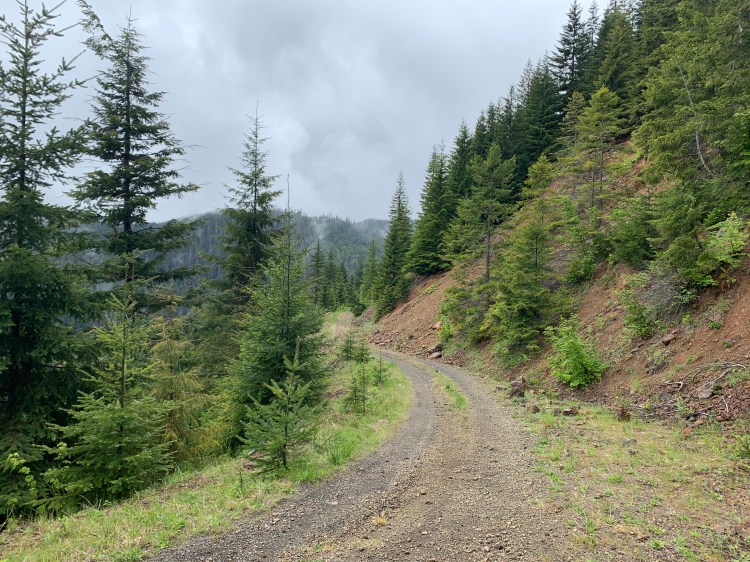
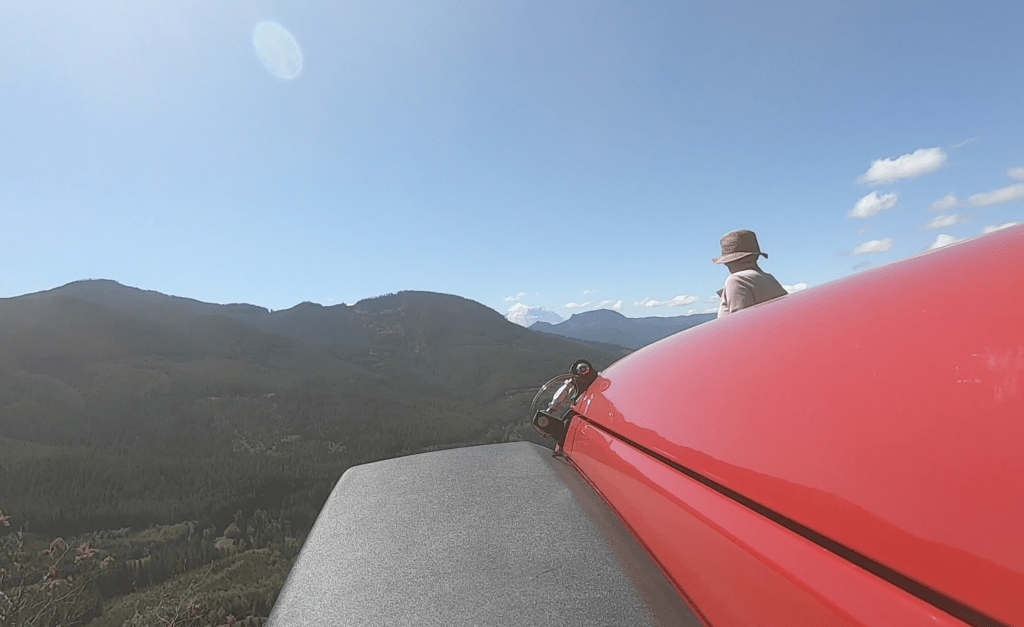
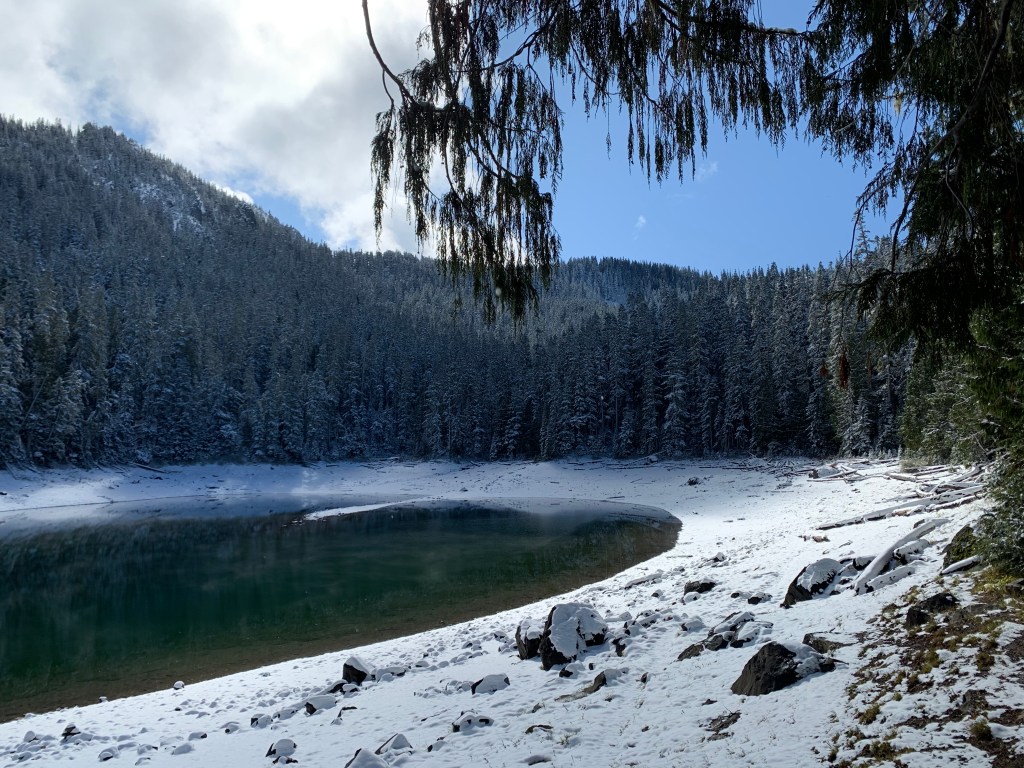
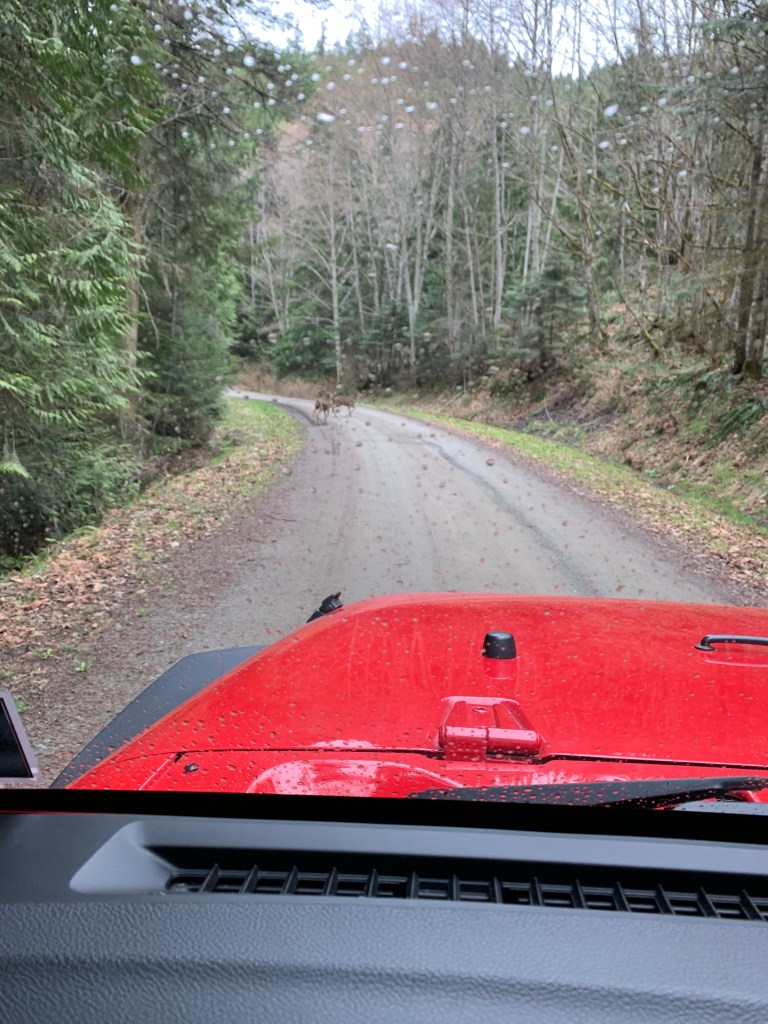
I love exploring around Mt Rainier just north of the Park boundaries. What seems like endless trails are always made better by clear summer skies. I found this trail while driving to Lost Lake.

Spring 2022 Interior Mods

Mod Updates
I had a request the other day from a friend to share more mods and adventures. Being that I haven’t been very good at posting on this site for a while and I’ve done some pretty major interior upgrades in the past few months, I thought it would be a good time to get the ball rolling again!
I’m going to start posting some videos here and on my YouTube channel that highlight some of the mods and adventures I’ve been up to.
My YouTube channel is here: redjkjeep
Share this:

Poison Spyder Crusher Flares
Poison Spyder makes some amazing products and their name comes up time and time again on reviews for their quality and reputation.
When purchasing the Crusher Flares you have a choice of width and materials. I chose the standard front and wide rear flares in aluminium.
I didn’t want super wide flares but some of you may, due to local laws or for the look. Aluminum was a must for me though, as I want to keep the weight down as much as I can. The difference between steel and aluminum is incredible. One front steel flare weighs in at 31.6 lbs and aluminum at 11.8. Four fenders represent a total difference of 75 pounds!!
The best reason to choose Poison Spyder is that these flares are installed with an inner brace kit that is supplied. Many of the flares out there simply bolt on to the body sheetmetal which we all know is pretty flimsy on these Jeeps. Even if the flare is sturdy, contact with a rock or tree could deform the sheetmetal. The inner braces bypass the sheetmetal and transfer the forces to the inner Jeep structure.
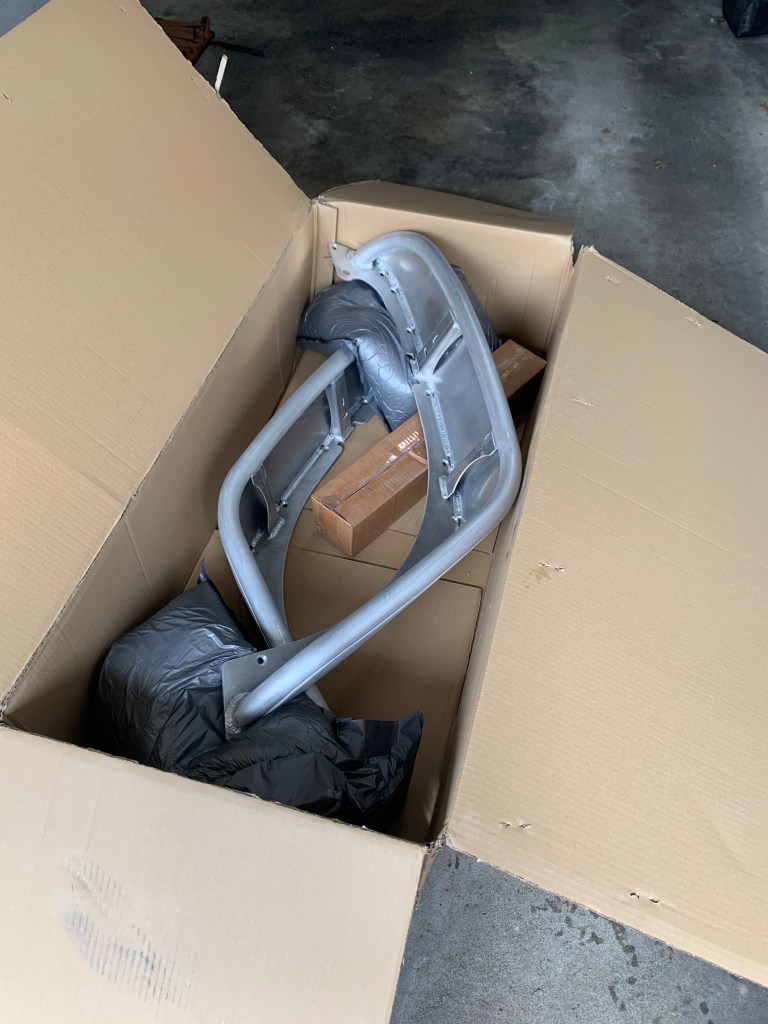
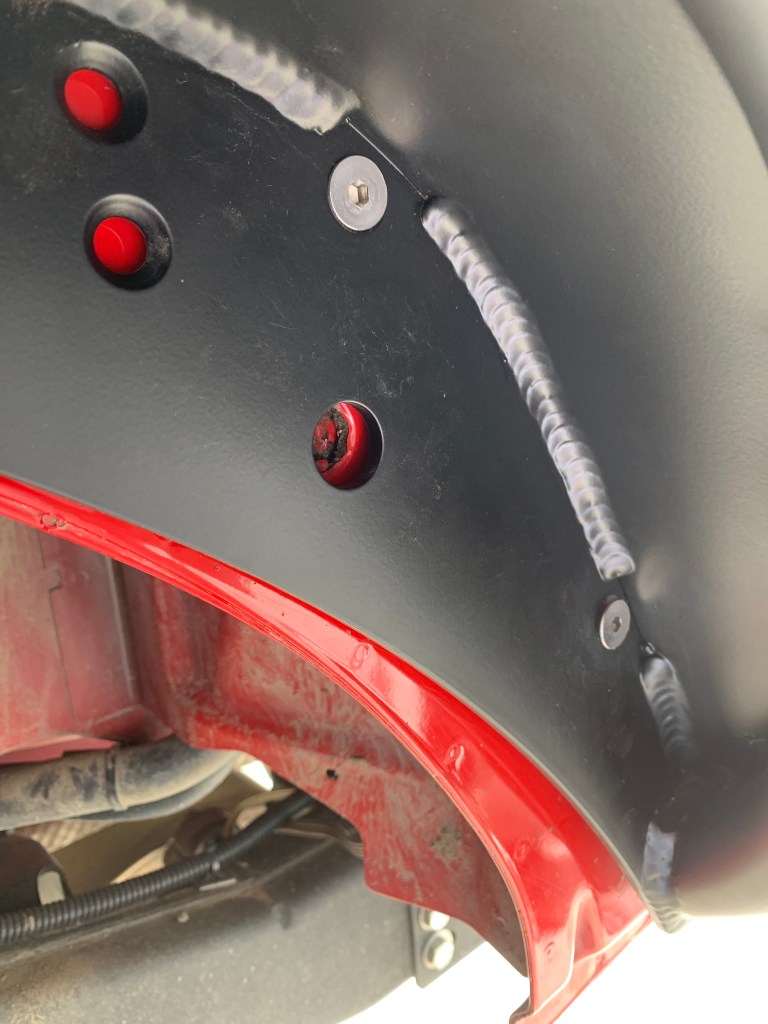
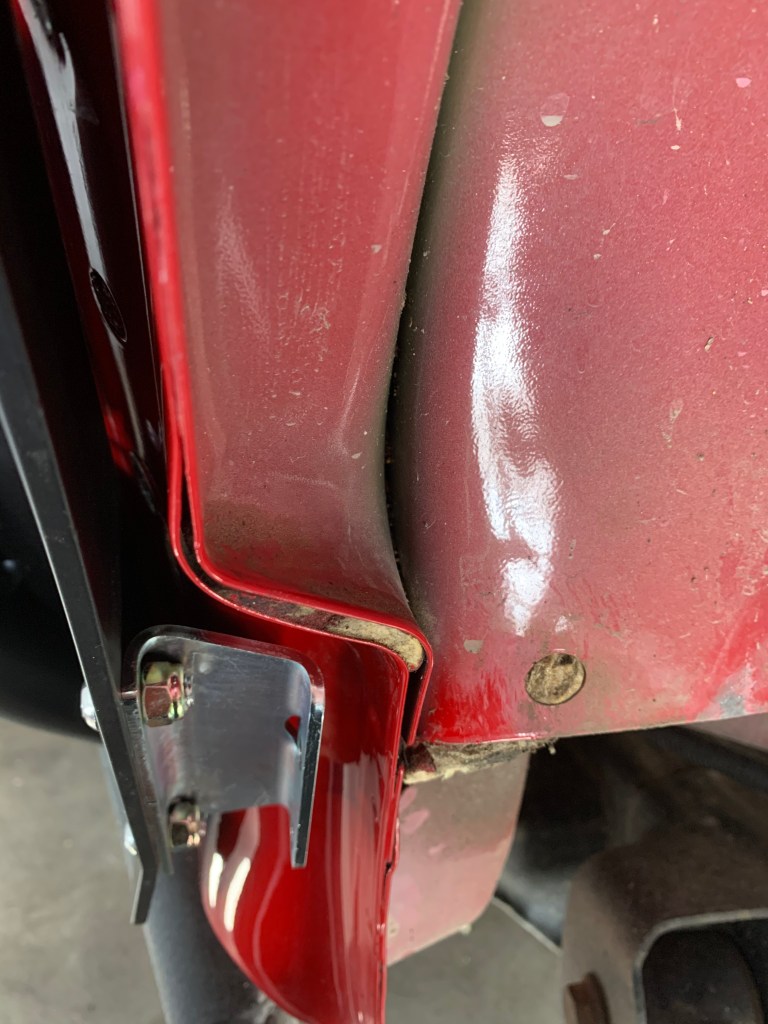
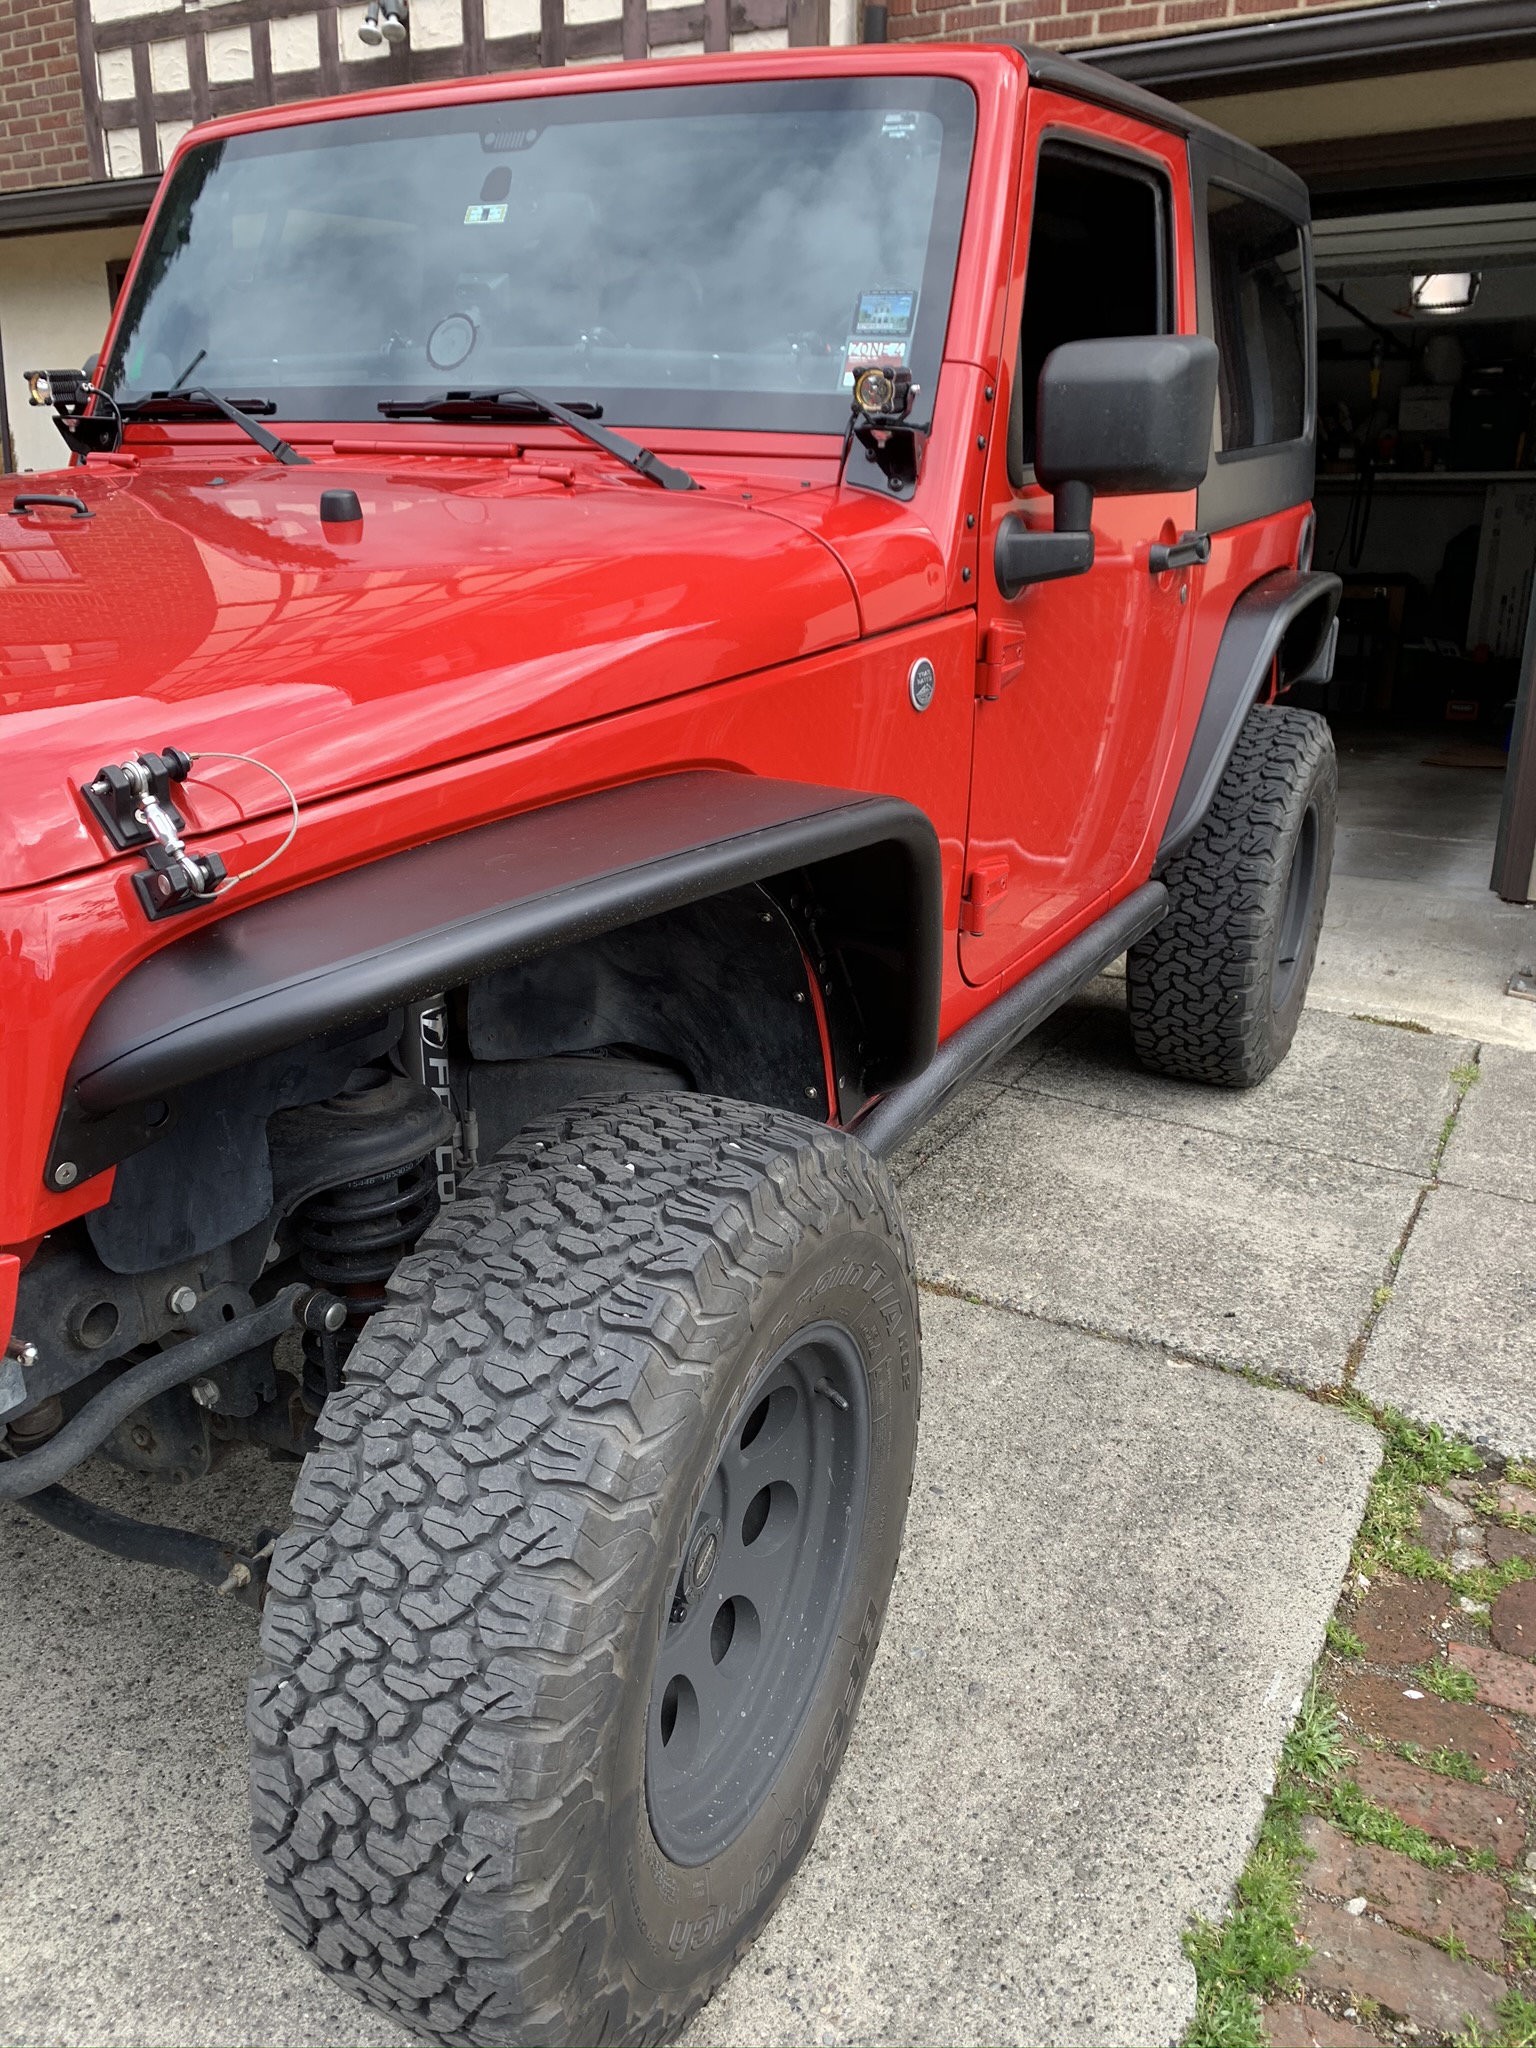
After a trip to get powder coated, I began the install. The step by step instructions are very good and this product is bolt on. Poison Spyder recommends a test install before powder coating to insure fit but living dangerously, I passed on the suggestion. The two pictures above are from the drivers rear fender. As you can see it was a little tweeked and didnt fit prefectly. I loosed all the bolts and used a couple clamps to set the alignment and with patience and time everything fell into place. All other fenders where a perfect fit and easily bolted right on.
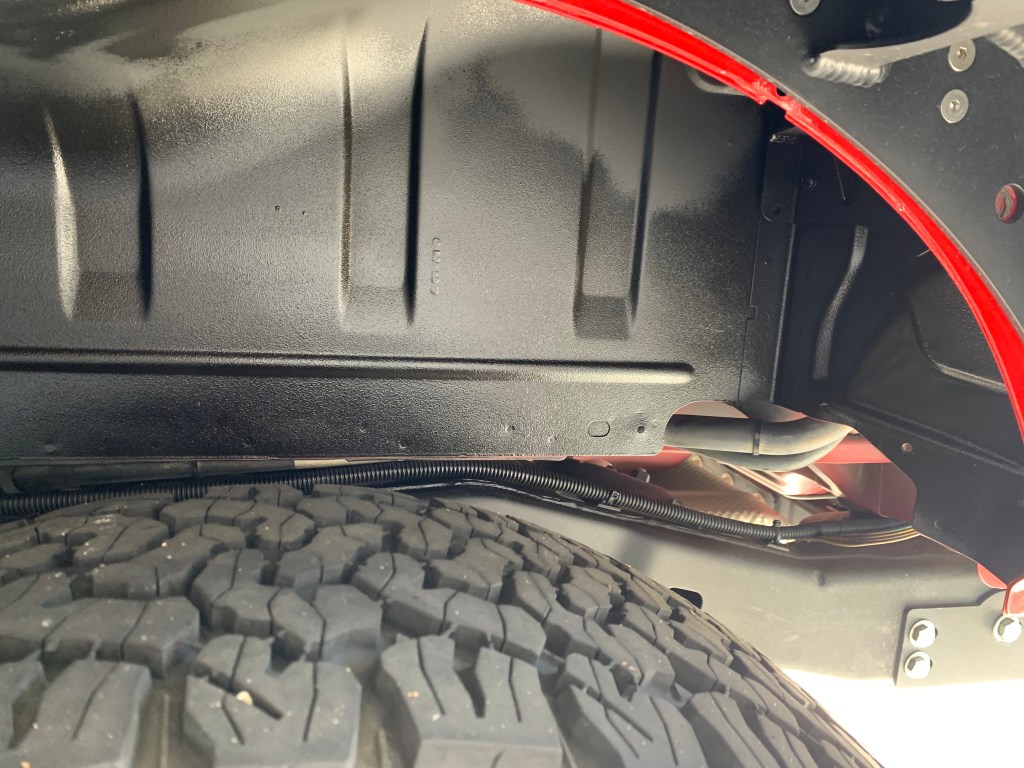
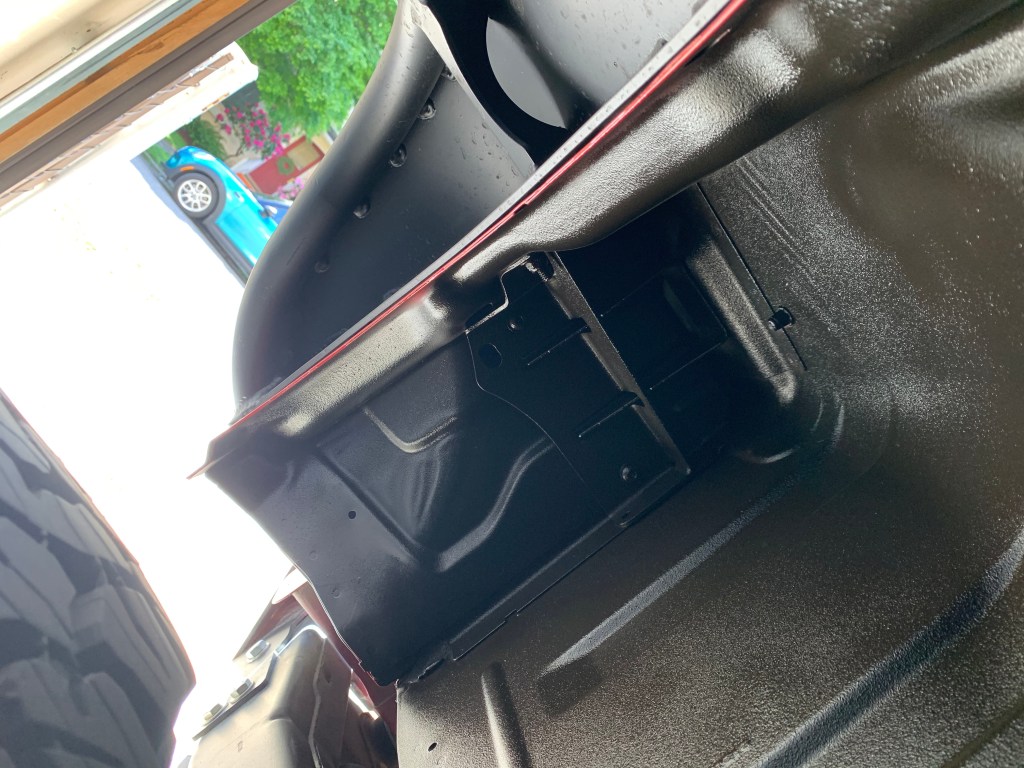
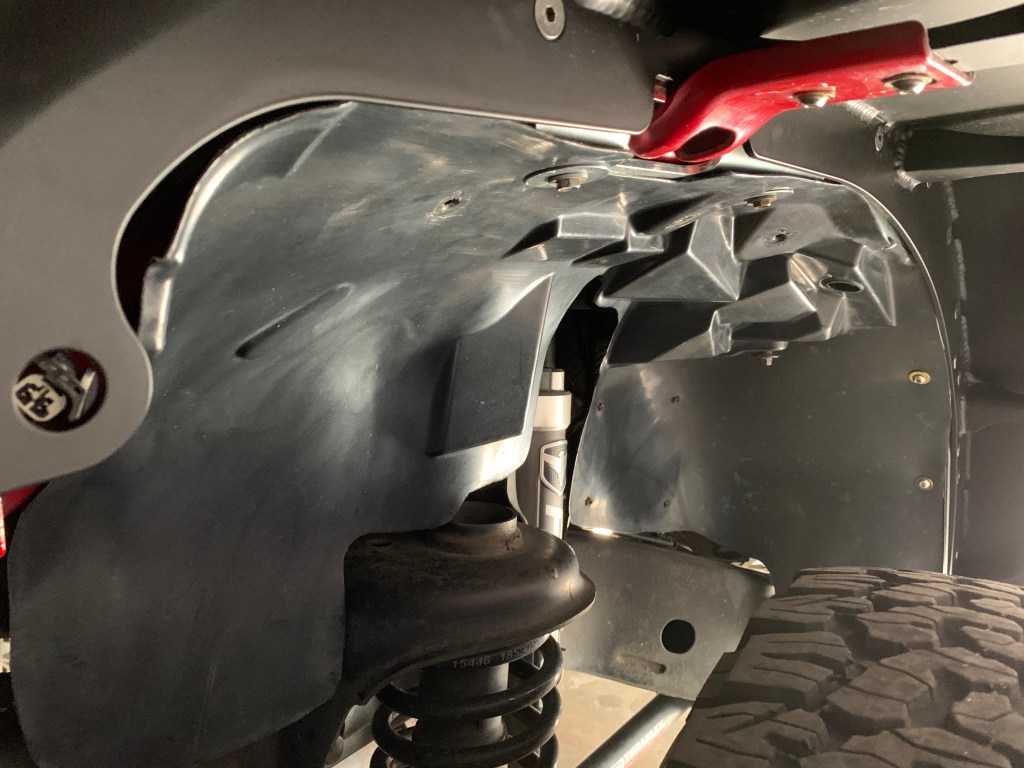
For now, I painted and indercoated the rear inner fenders and cut and used the existing front fender liners. Some nicer finished liners from Poison Spyder will be added later.
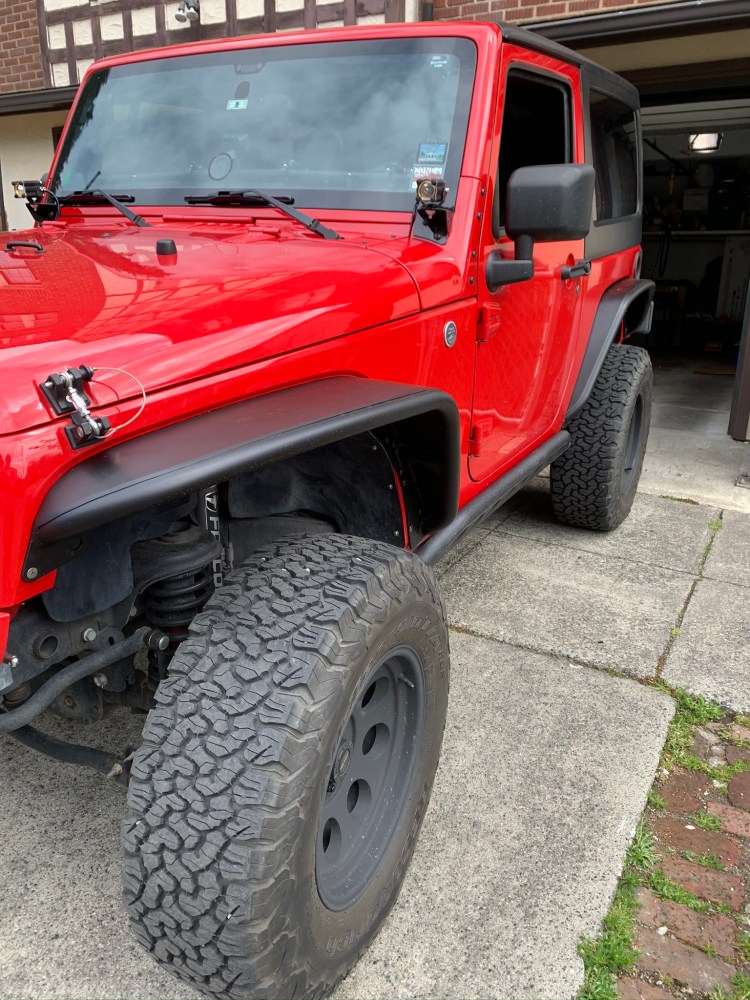
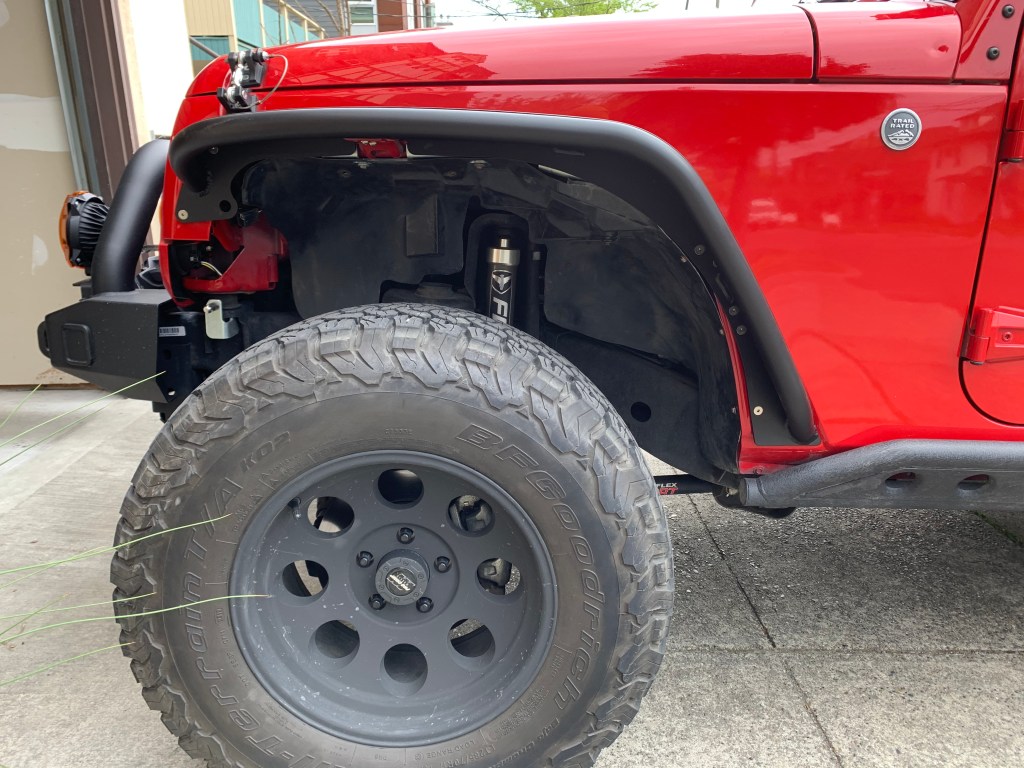
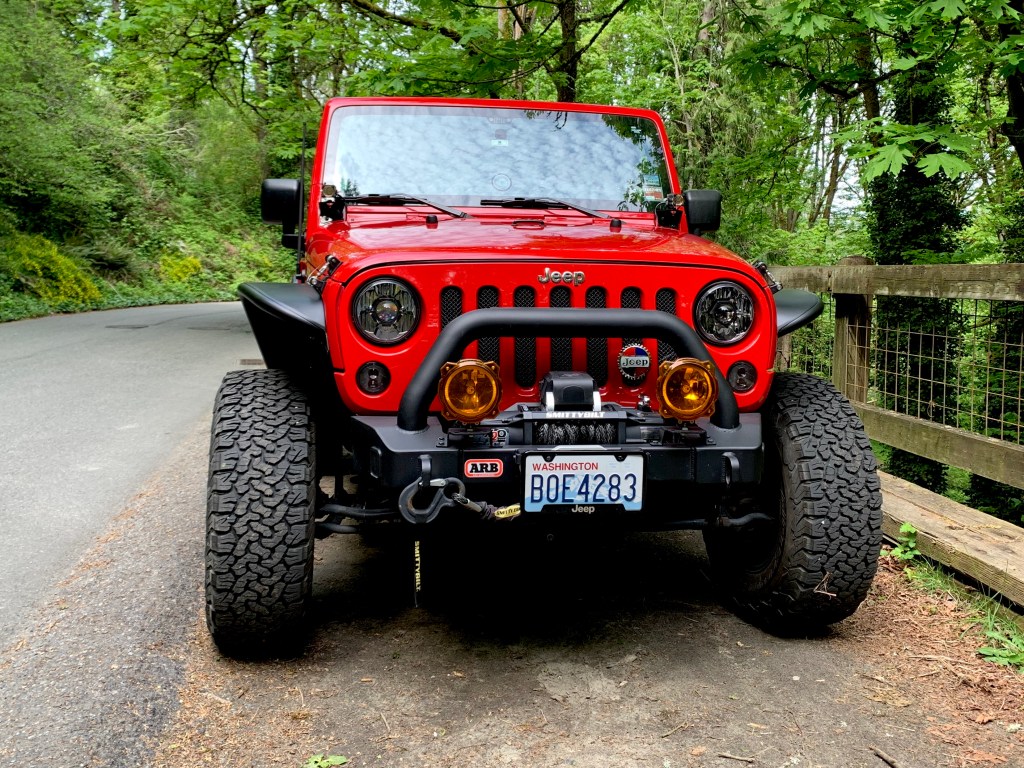
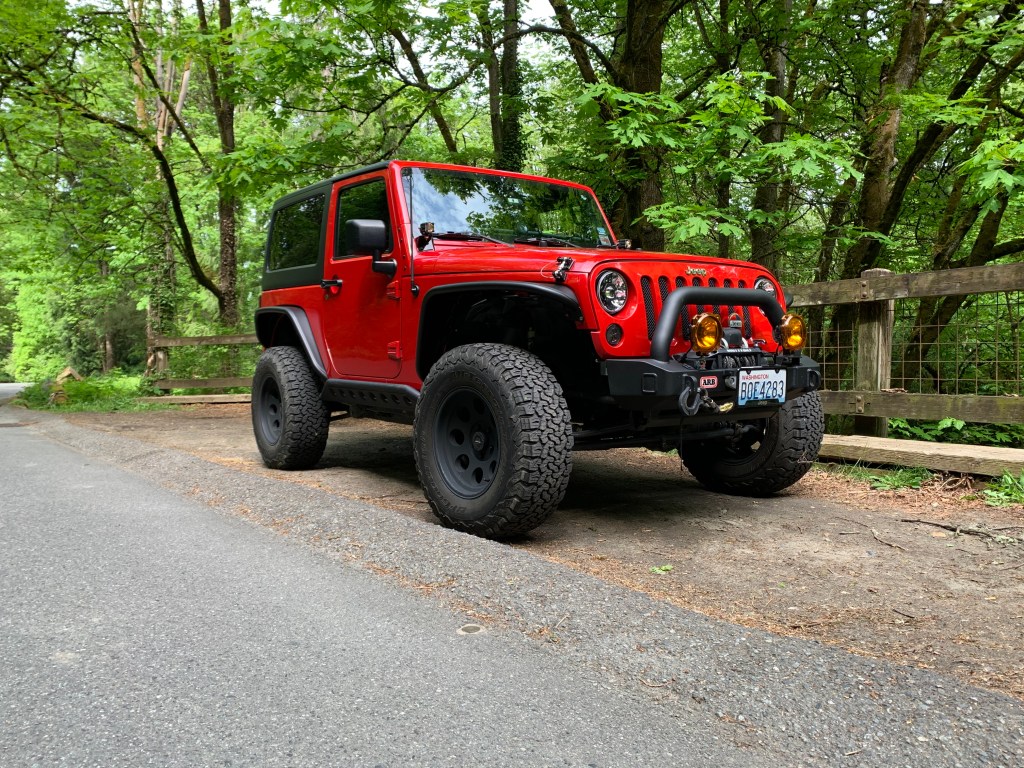
I added the front marker lamps that are simple to install and make it all legal. I really like the looks of this install and the protection these fenders add to the build.
Share this:

Jackman Creek Road Day Trip
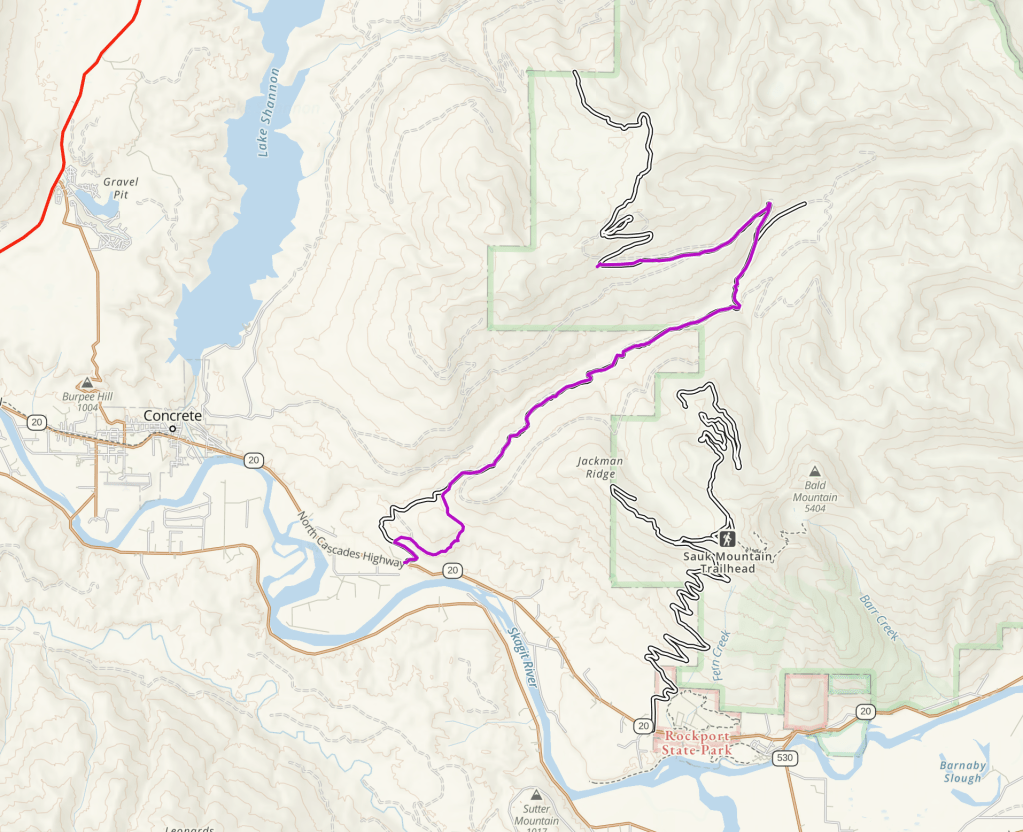
Jackman Creek Road is a 20 mile out and back logging road that traverses Jackman Ridge just east of Concrete, WA.
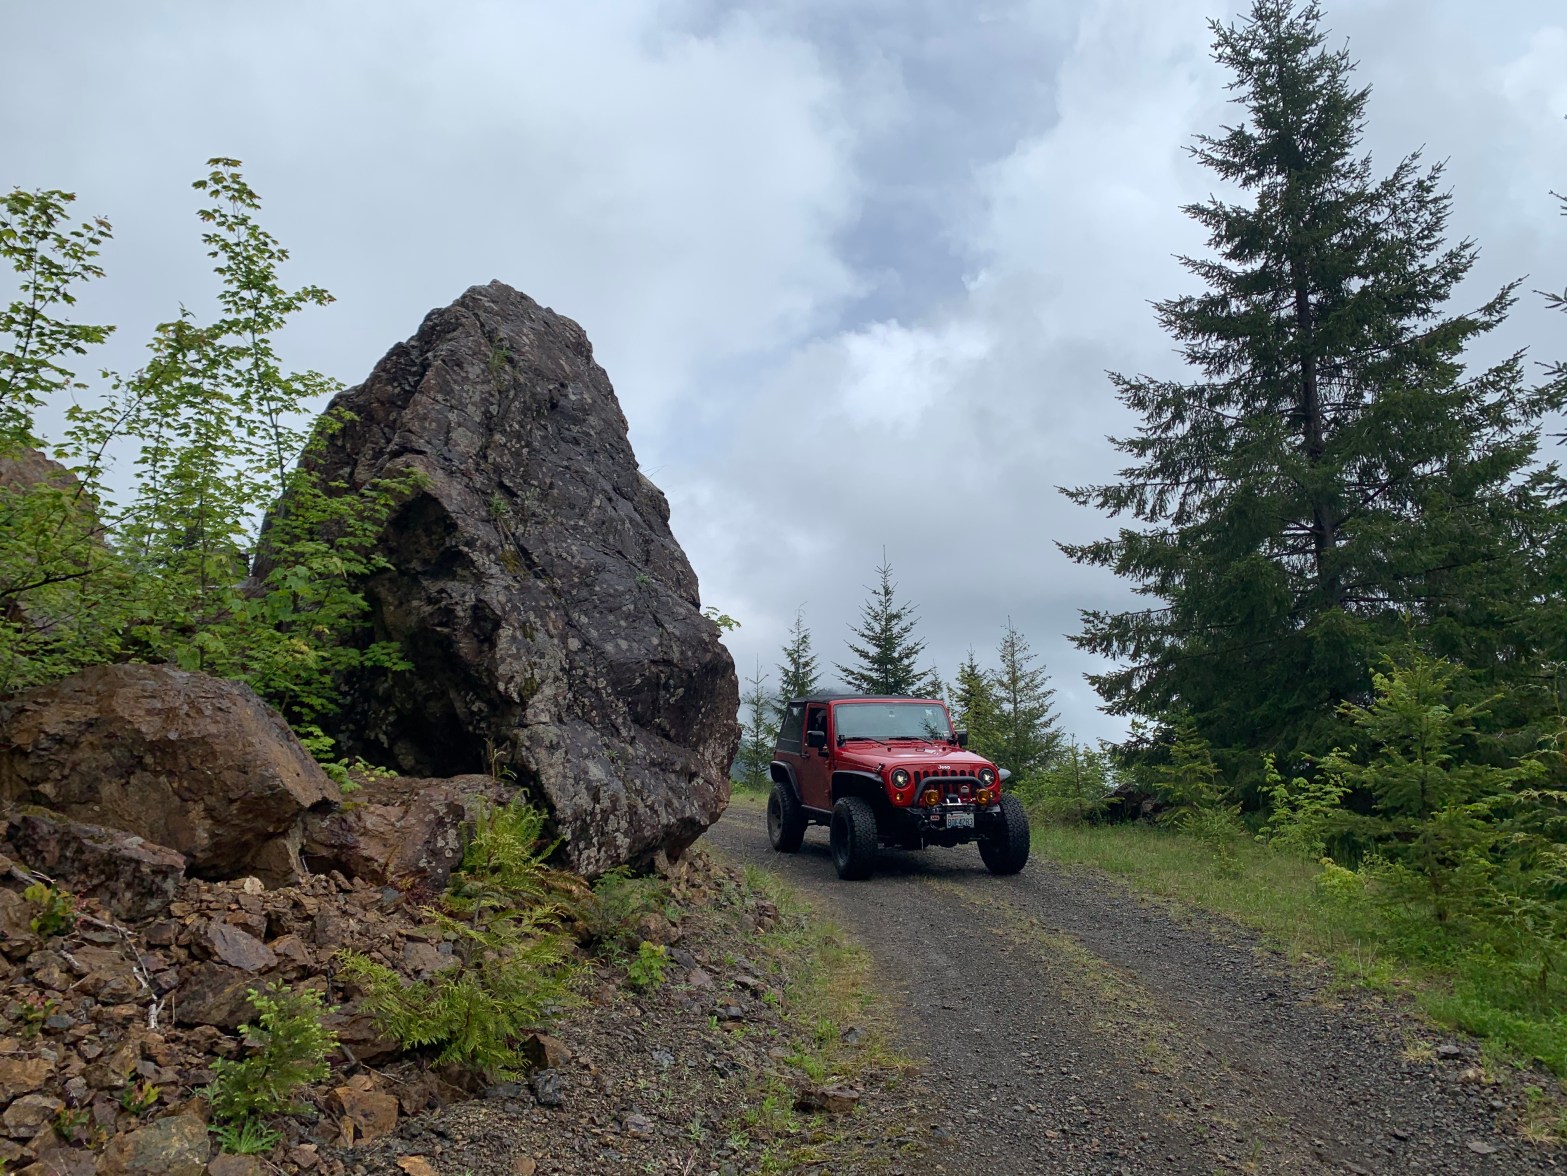
Driving east on Hwy 20 from Concrete, look for Forest Service Road 14 on the left side of the road. Starting up this heavily forested road, I noticed the trail deviates from the map and guides you on a newer road until you emerge into the wide valley of Jackman Creek. There are beautiful views up and down the valley. To the southwest, you can see all the way to the Scagit River and northeast lies the North cascades National Park and Diobsud Buttes with Bald Mountain and Helen Buttes in between.


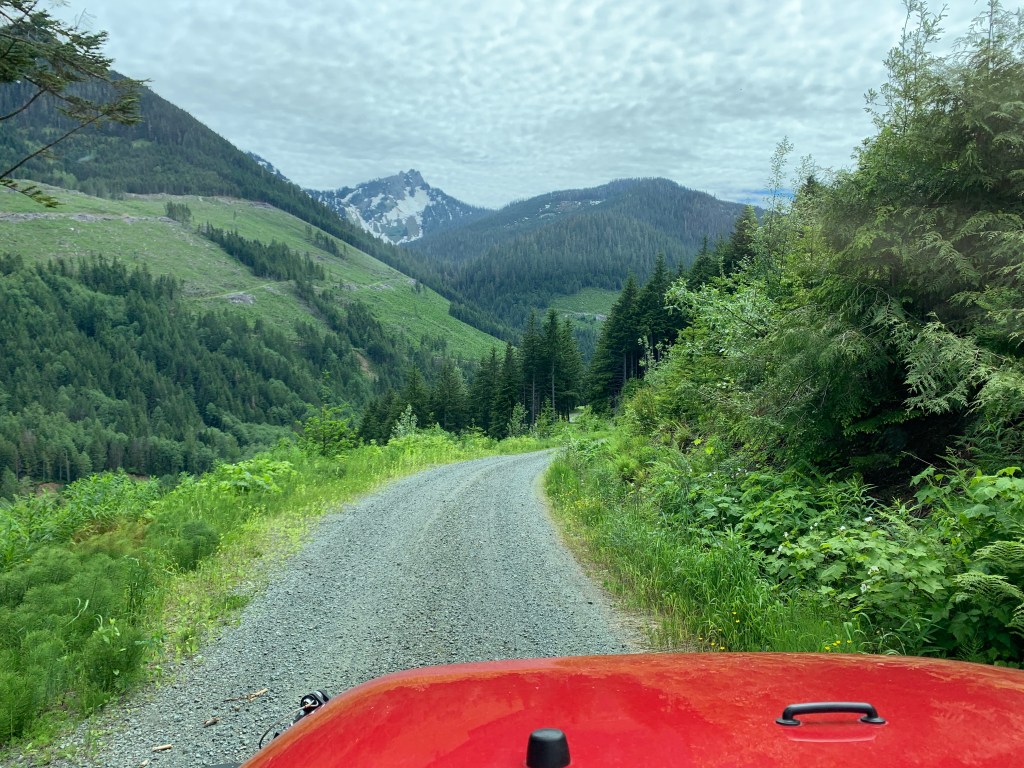

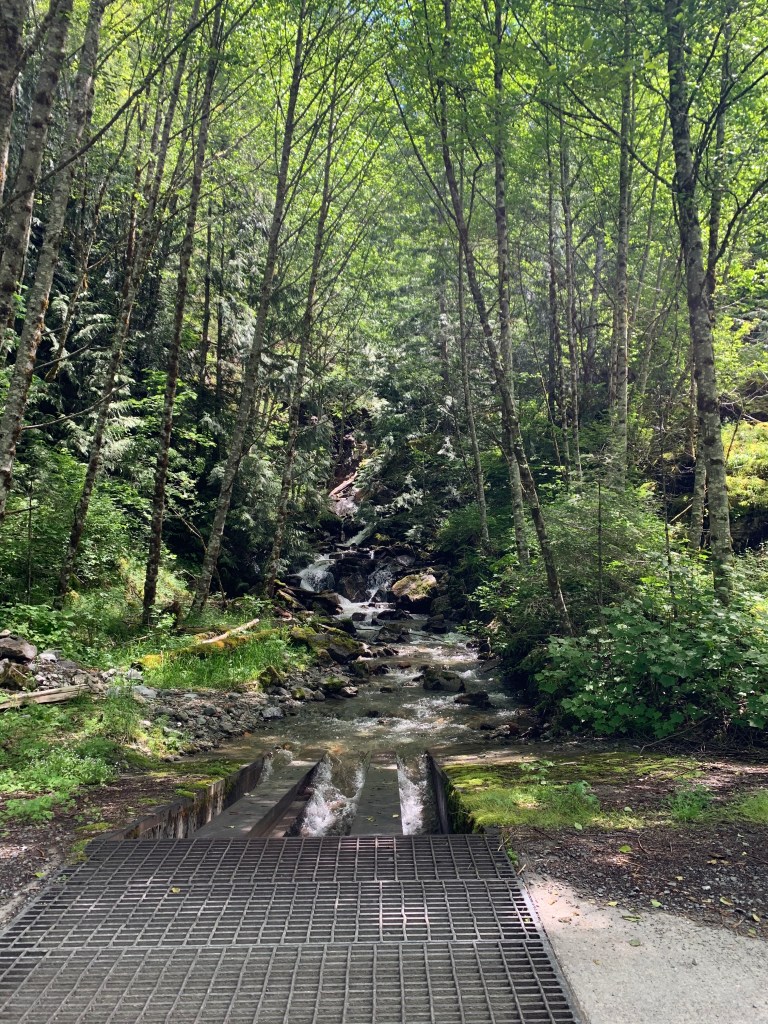
Spend some time exploring the many mountain streams that rush down to Jackman Creek. There are a number of gated logging roads off of Jackman Creek Road and some active logging going on so be alert for logging trucks. I was here on Monday, June 23, 2020 and didn’t encounter another soul for the 4 hours I was on the trail. It was amazing!
Share this:

Day trip to Lake Wynoochee
On June 6th, I set out for Lake Wynooche in the south central Olympic National Forest. The hiking destination was to Wynoochee Falls, a short 1 mile hike off of FS Road 2312. As with any trip, I spend some prep time on Gaia GPS, Washington Trail Association and Alltrails web sites to discover any notable destinations or local trails and history that could add to the adventure in this area.
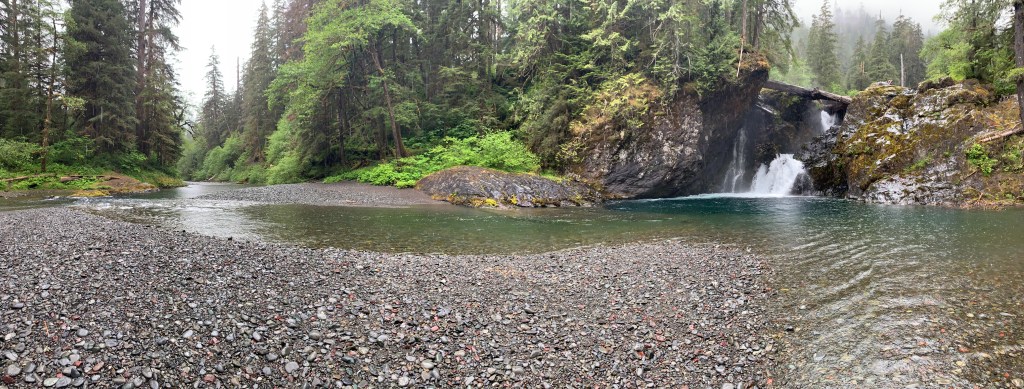
Even on this rainy day, Wynoochee Falls is certainly a must visit especially since it is such a short walk from the road. There are some great shallow spots here that on a warm summer day one could cool off and enjoy the water too.
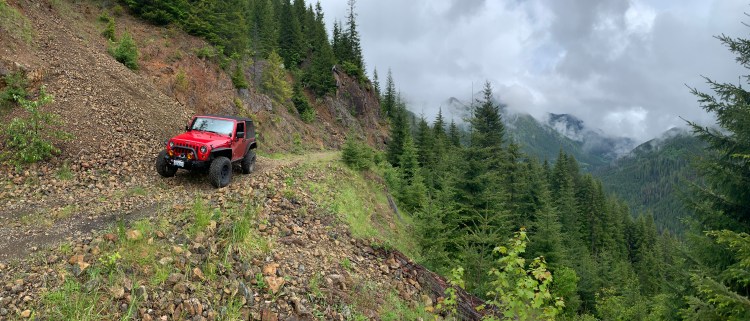
As you see from the video above, the bonus I discovered in this area was the multitude of Forest Service Roads and dispersed camp sites available. I’ve shared our trip on Gaia GPS
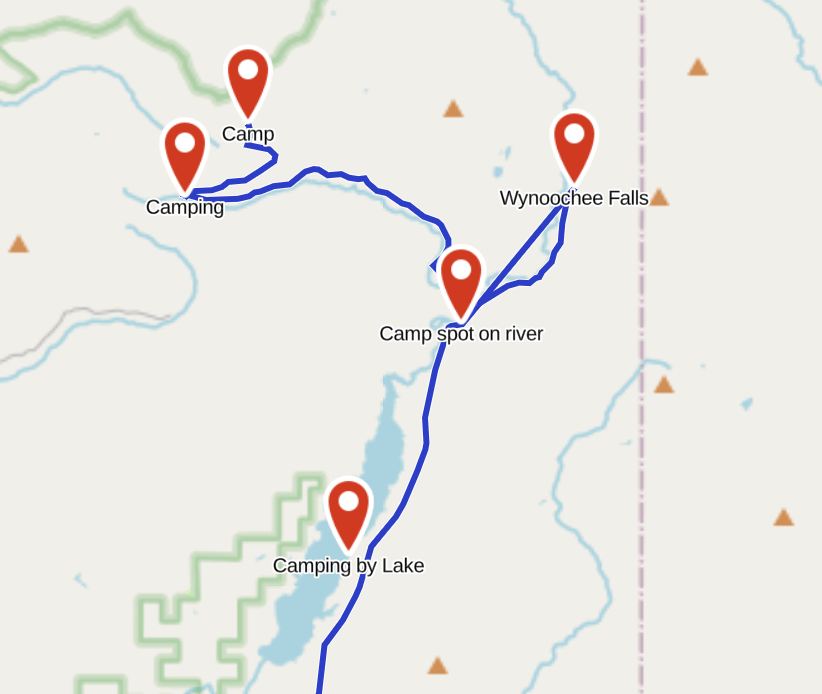
There are some great camping opportunities around the Maidenhair Falls area and here is were FS Road 2312 makes a loop all the way back to Wynoochee Falls. I explored this trail in in the Jeep for quite a few miles uncovering many camping spots and would love to come back for an overnight.
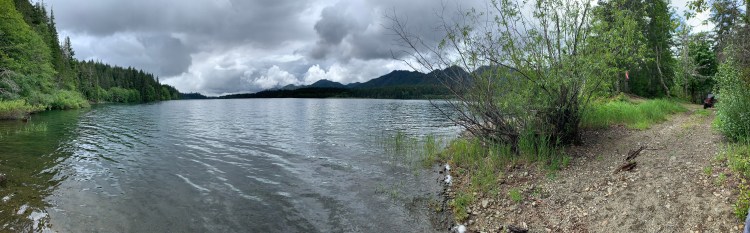


There are also some great places along the Lake itself.

Share this:

Interior Mods – navigation
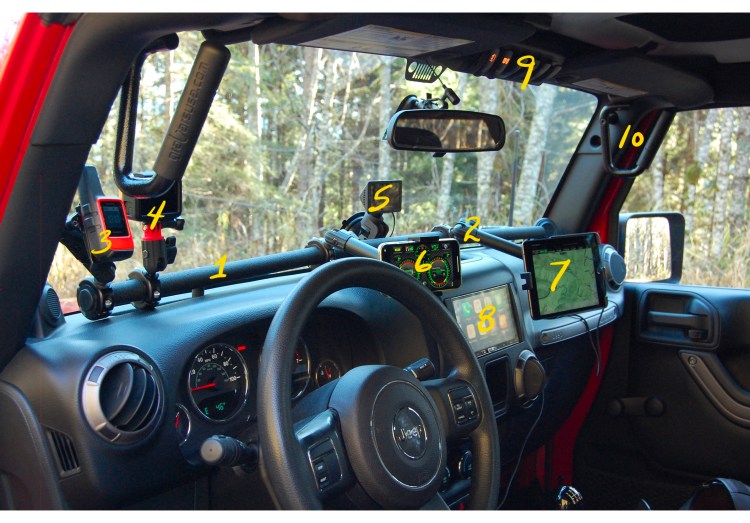
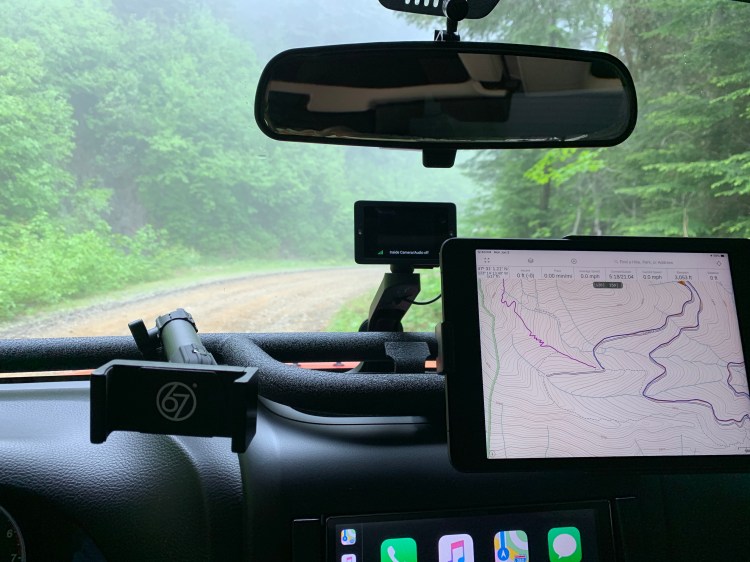
Continuing with an overview of my interior mods, I wanted to briefly talk about #4, the GoPro Hero7 camera and my Apple devices #6 and #7 and how I use them.

The GoPro Hero7 has been a great investment for me and would be for anyone who wants to share photos and video whether through a blog like this, through social media or just to document your adventures for friends and family.
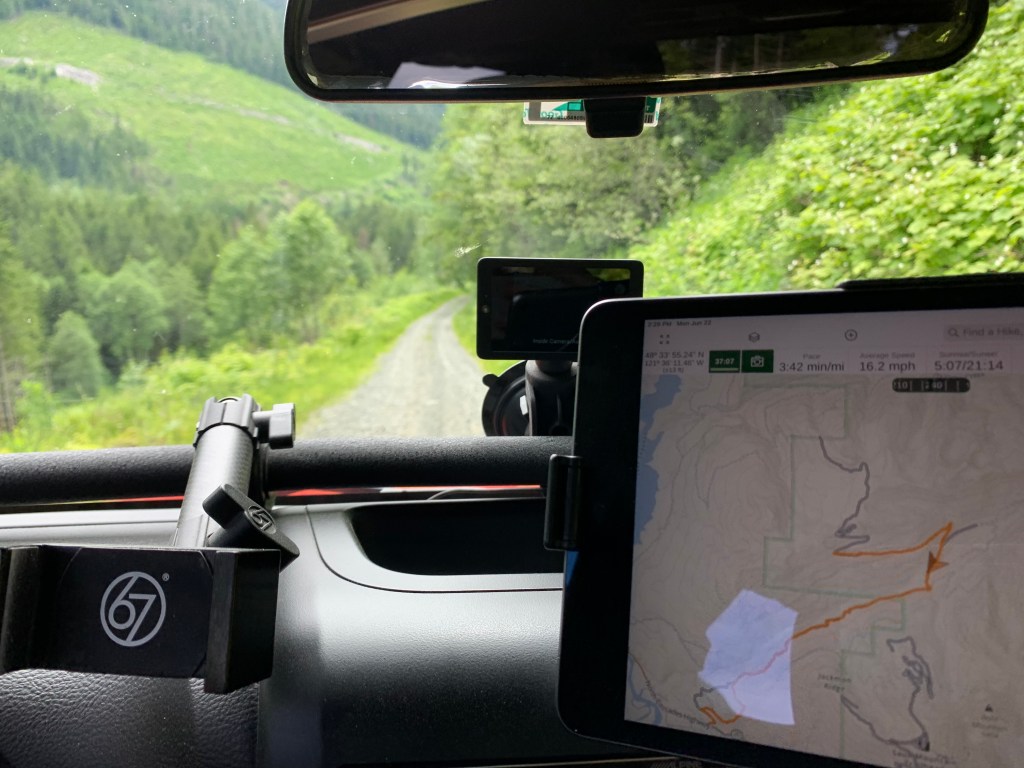
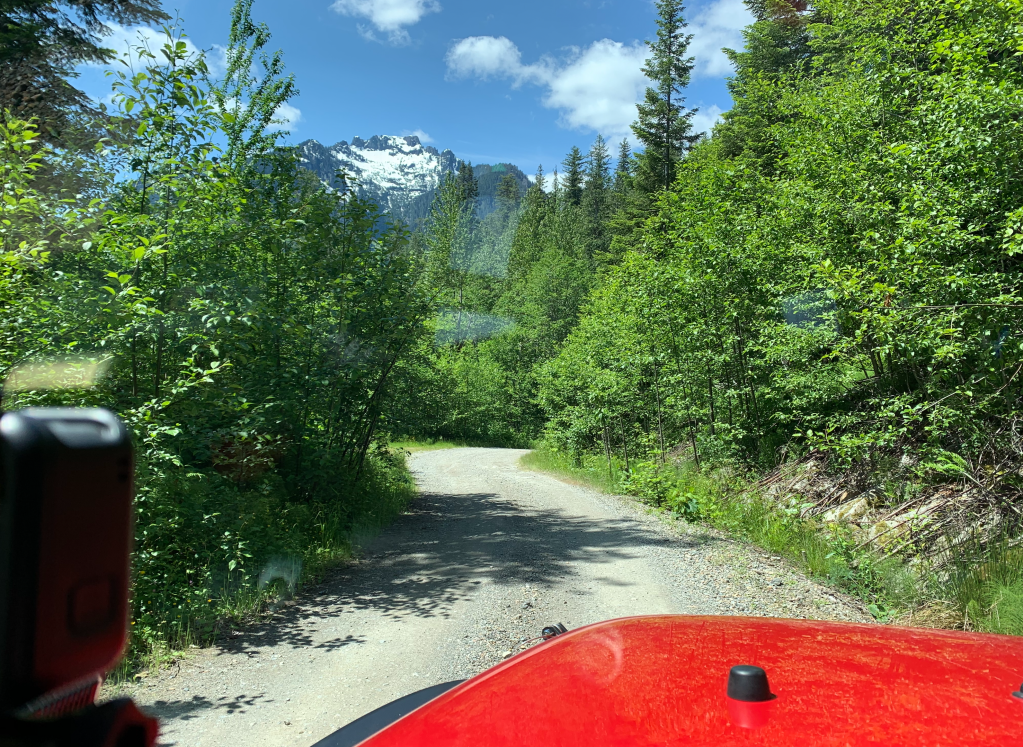
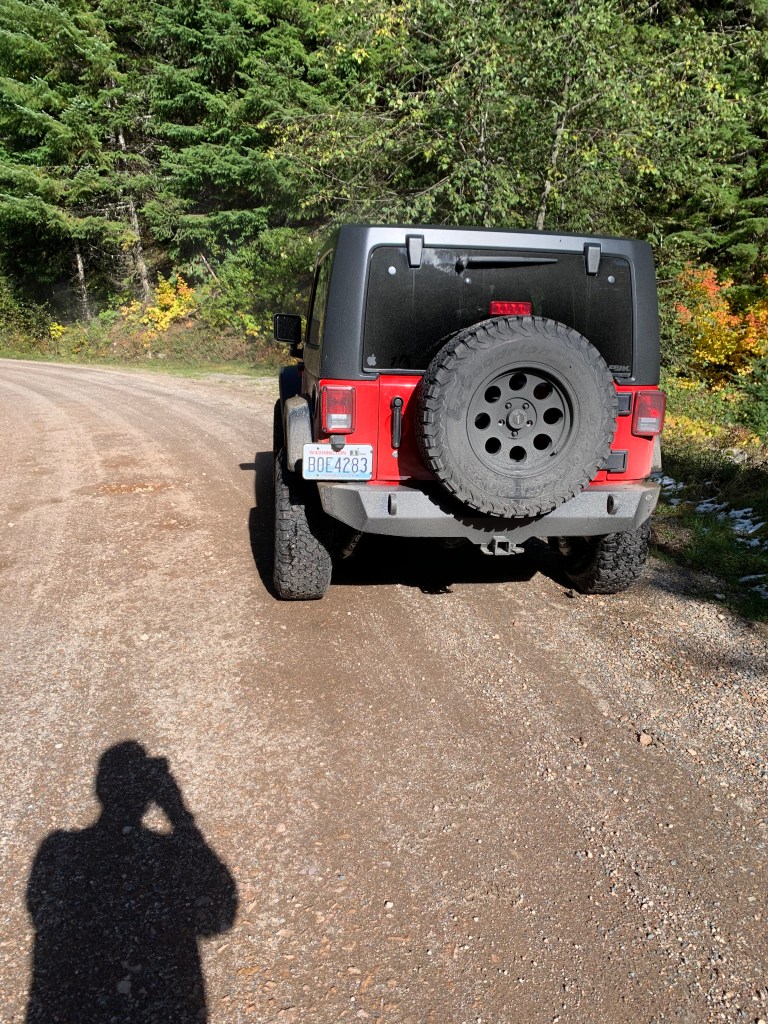
I have used mine primarily to highlight trail runs either mounting it as you see here, inside on my 67 Designs GoPro mount or externally on my GoPro suction mount. The results are quite dramatic depending on where the camera is mounted and the camera settings.
Here’s a shot from the GoPro on the suction mount mounted just in front of the Jeep Trail Rated badge.
Inside mount (notice the reflection off the window)
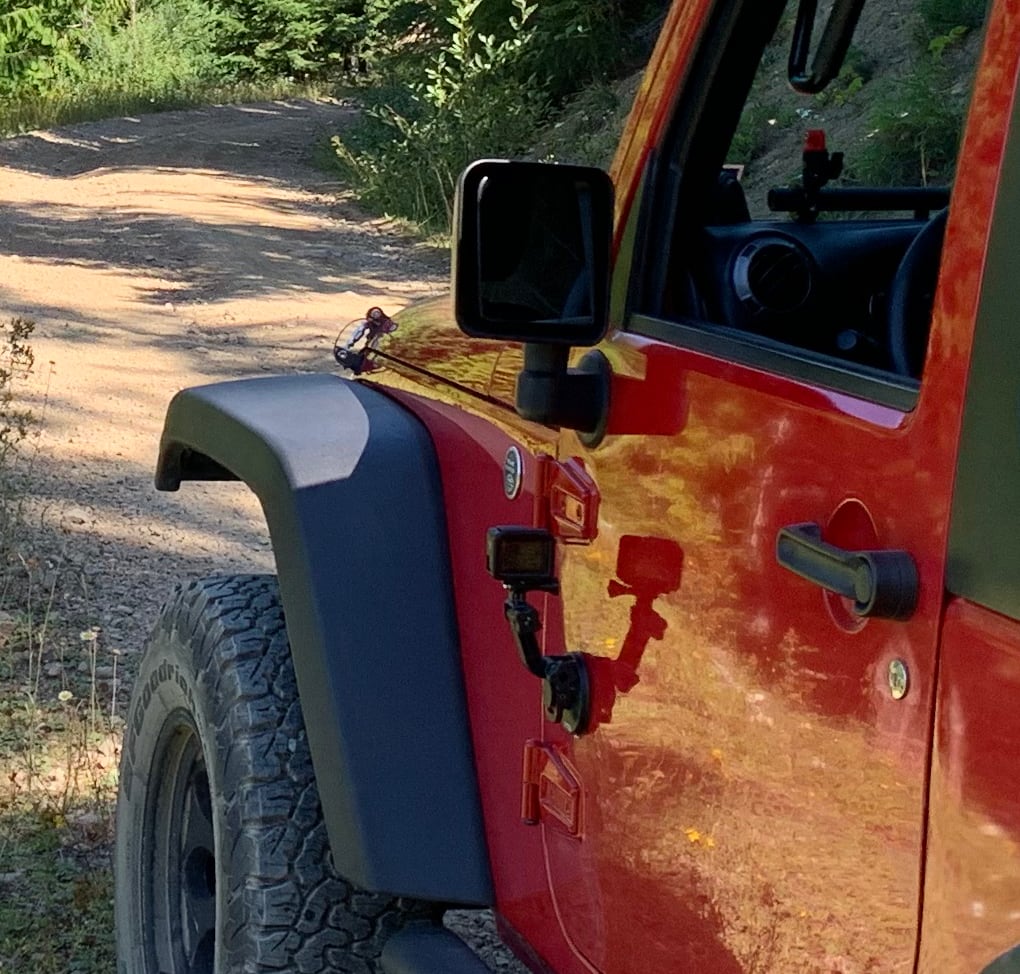
Here’s the GoPro suction mount attached to the door.
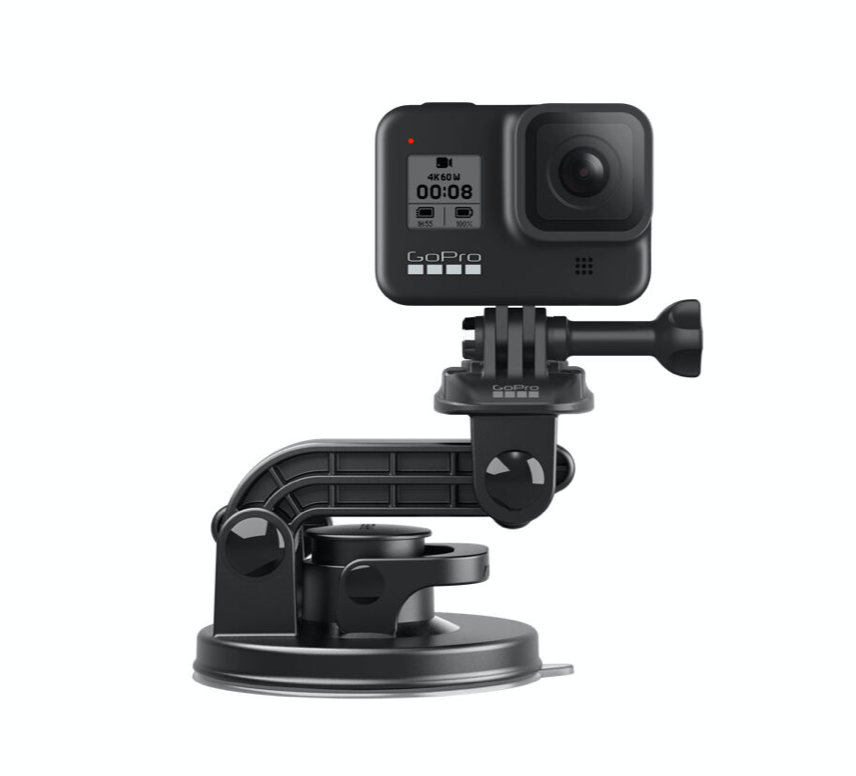
GoPro Suction Mount
I love these shots from the outside mount as it’s a little more immersive with the tire noise on the trail.
I’ve also used the GoPro mounted on a GoPro Shorty and stuck down the front of a life vest with the video results here from a 2019 Oregon Rafting trip.
In other words, this camera is very versatile! I’m glad to share more particulars, just ask. GoPro has introduced a new camera, the Hero8 but the 7 is a great camera for the price and is still available at a new lower price. I’ve started using a DJI Mavic Mini drone for photography as well and will visit that subject in a future blog post.
#5, 6, 7, and 8 I’ve talked about in previous blog posts.
#6 my iPhone and #7 my iPad mini could be considered a little redundant as I use the iPad for navigation and you could use a phone just as easily but I love having a larger screen and a dedicated device for displaying maps and recording routes with the Gaia GPS App. Leaving the iPhone open for other uses like a clinometer app or another trail map is convenient but I find myself constantly pulling it off the mount to grab a quick picture or video.

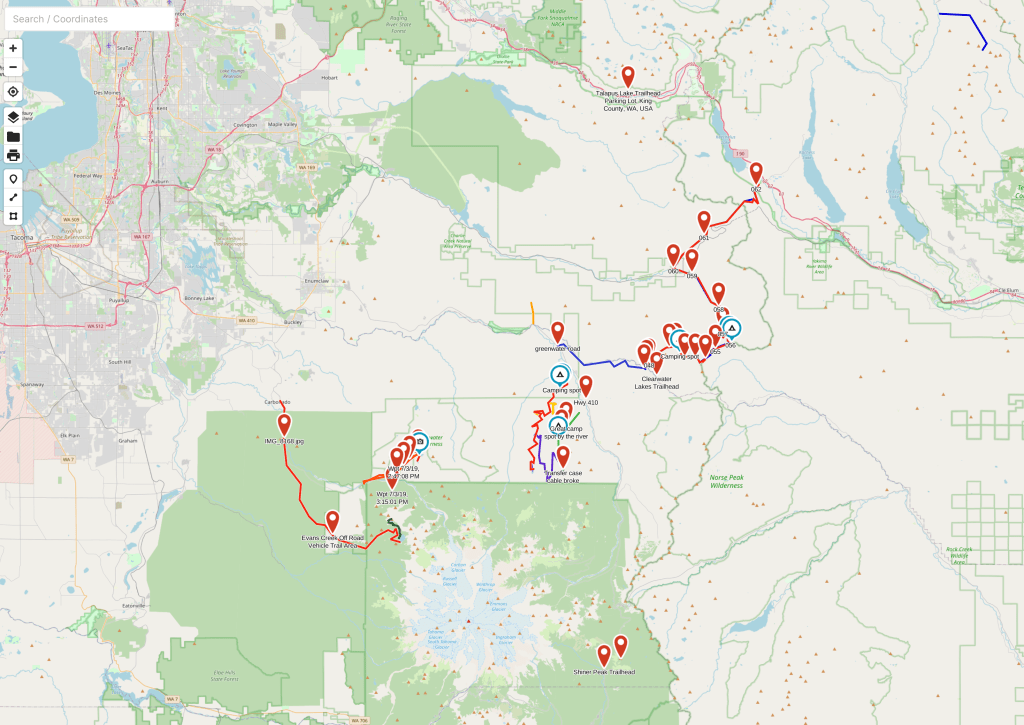
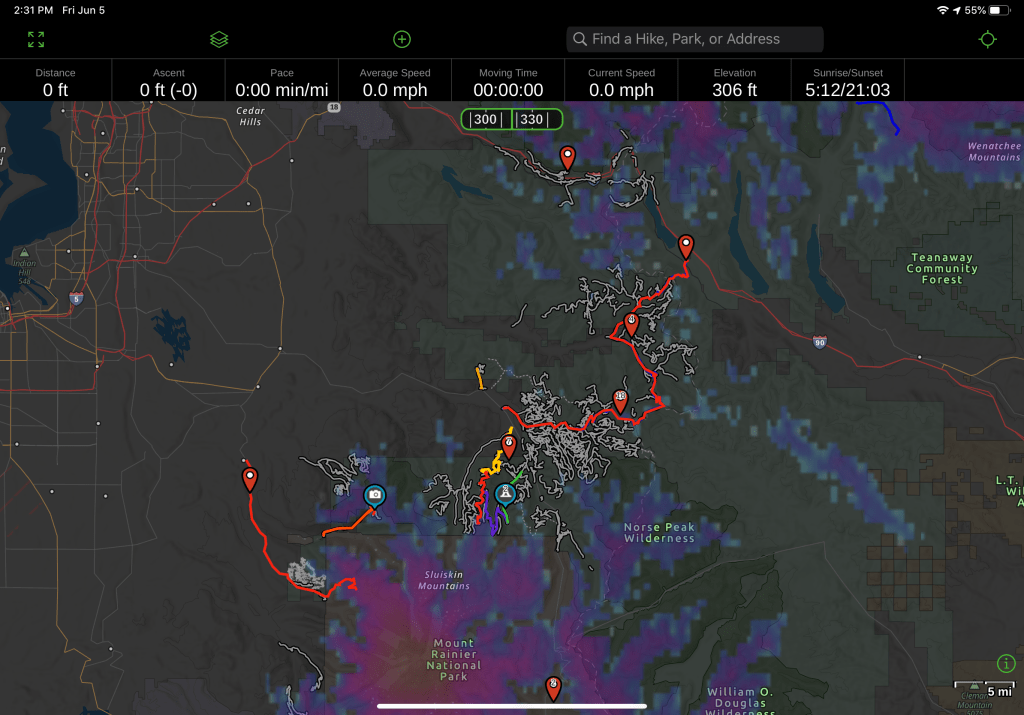
I can’t say enough about Gaia. I have a premium membership that allows you use of their full map catalog and the ability to customize maps. You can check it out with access to the Gaia Topo map, plan, navigate and record your trips all for free. The part I like the best is that you can access Gaia via their web site or the app allowing you to do planning from home. It’s important to download maps of the areas you are going to visit onto your phone or iPad before you go. It’s a great system as you can download only what you will need and offload them when you’re done saving storage space on your device. Here’s what the web based map looks like and below it is the iPad App. I’ve got some different map layers applied but you can see how the saved trip routes and waypoints have been synced between iPad and web. I highly recommend this as your main navigation tool. I do use other resources for planning but I’ll save that for a time if I get enough requests about route/travel planning. I may touch on this app again on a dedicated page as it probably deserves a whole discussion around what it can do for you.
Share this:

Interior Mods – communications
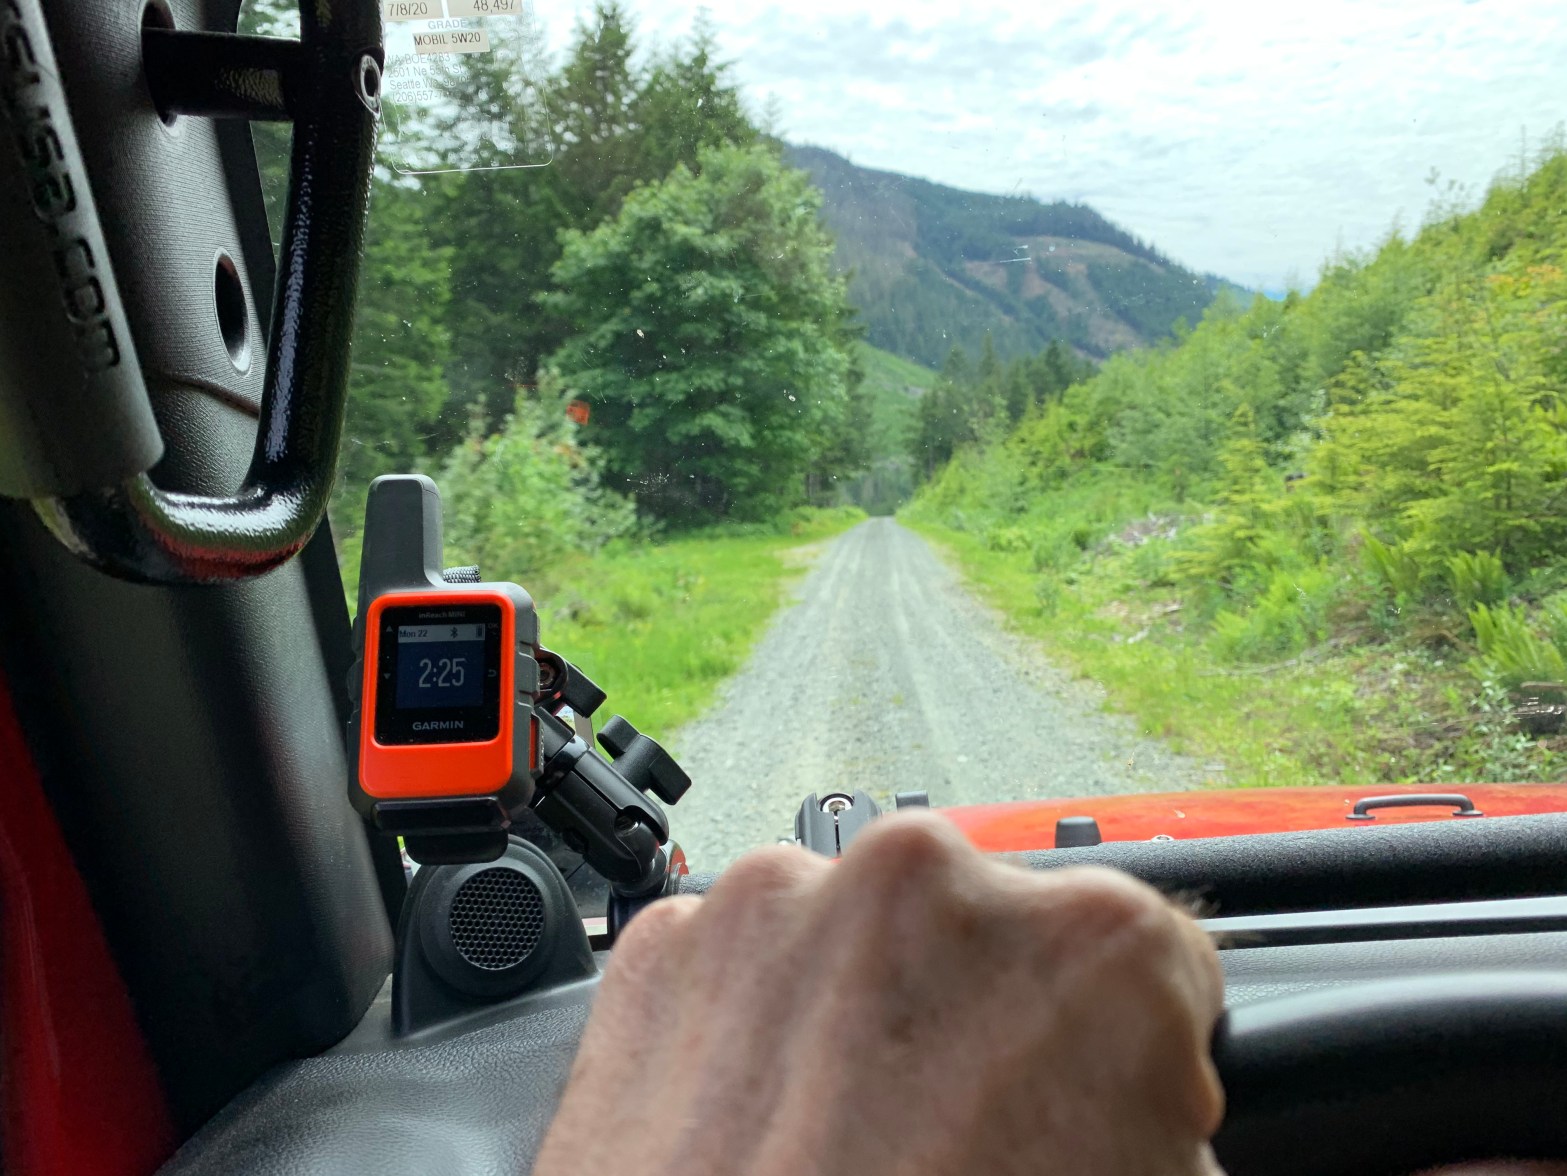
3. Garmin InReach Mini
The InReach is a small satellite communicator. If you’re not familiar with these or why you should have one, I implore you to look into something like this! It will require you to purchase a subscription but I chose Garmin partly because they use the Iridium Satellite Network for tracking, messaging and S.O.S. This network has the best coverage throughout the world so you will be able to use it no matter where you go. Also, the Garmin subscription service can be utilized on a monthly basis (Freedom Plan) for when you are going to need it. I opted for a yearly plan that gives you constant coverage and a reduced rate from the monthly plan because I never know when the mountains will call next!
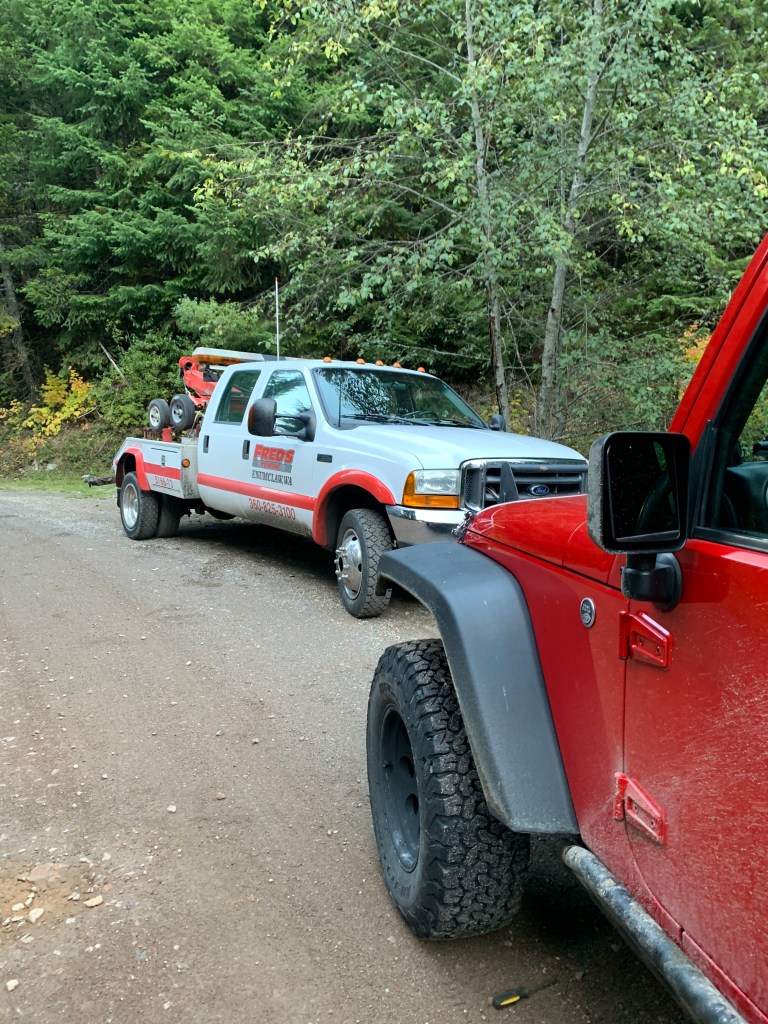
There’s a back story here leading to the purchase of the Garmin InReach Mini! I had taken a day trip to Lonesome Lake on Oct 9th of 2019 and ended the day having to walk over 12 miles from the backroads of Mt Rainier area to Hwy 410 until a nice couple picked me up and drove me to Enumclaw, WA to get help. I’ll cover and post this route in my Maps section. It’s a great drive with some awesome views.
After the breakdown, I was completely without communications with no way to call for help or to contact my wife to let her know I was ok. I almost spent the night in my Jeep as the sun was going down along with the temps and I didn’t quite know how far from help I was. I was lucky, everything turned out ok but right then and there I decided that I would never go back on the trails without some form of communication to cover me outside of cell range. I also plan to get my amateur radio license and add a ham radio to my arsenal in the future.
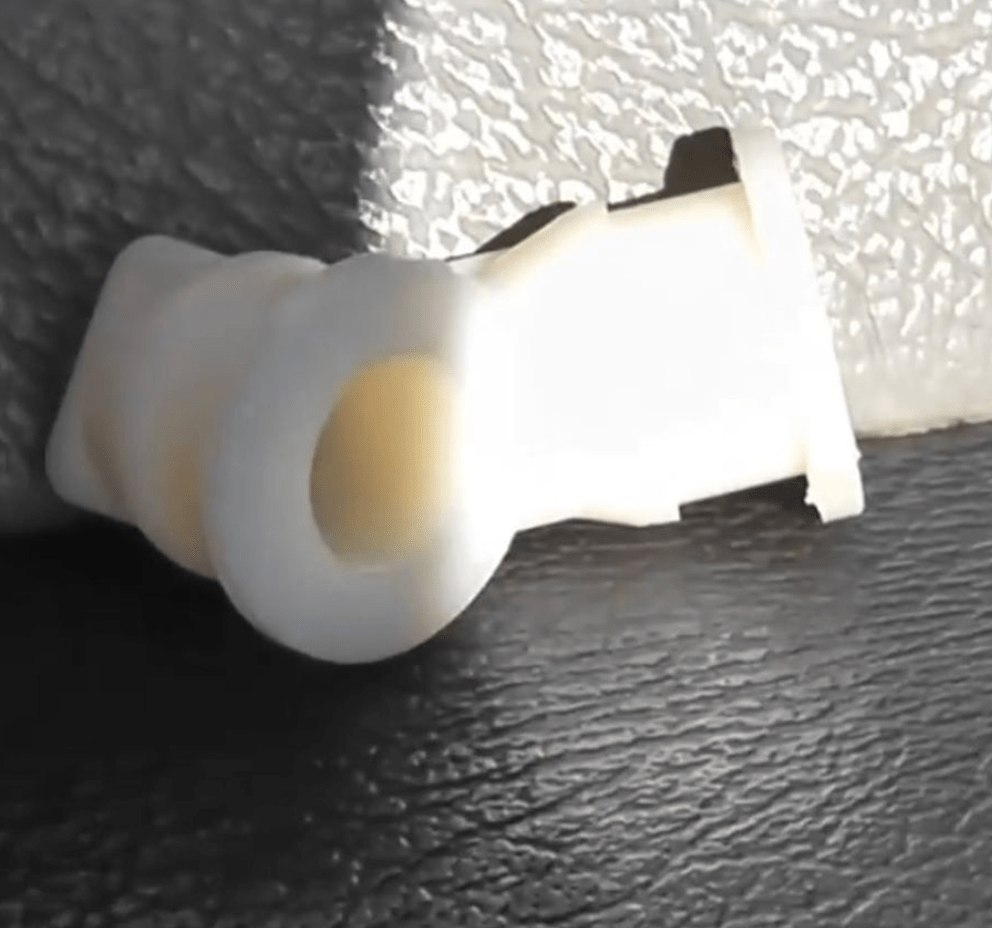
The breakdown was caused by a transfer case shift cable bushing, the little plastic guy on the left. Well, now I carry extras of these guys with me as they are a known weak link on JK’s and a super easy repair as long as you have the $5 part.
It’s Mopar part #6806 4273AB for my 2011 JK
Share this:

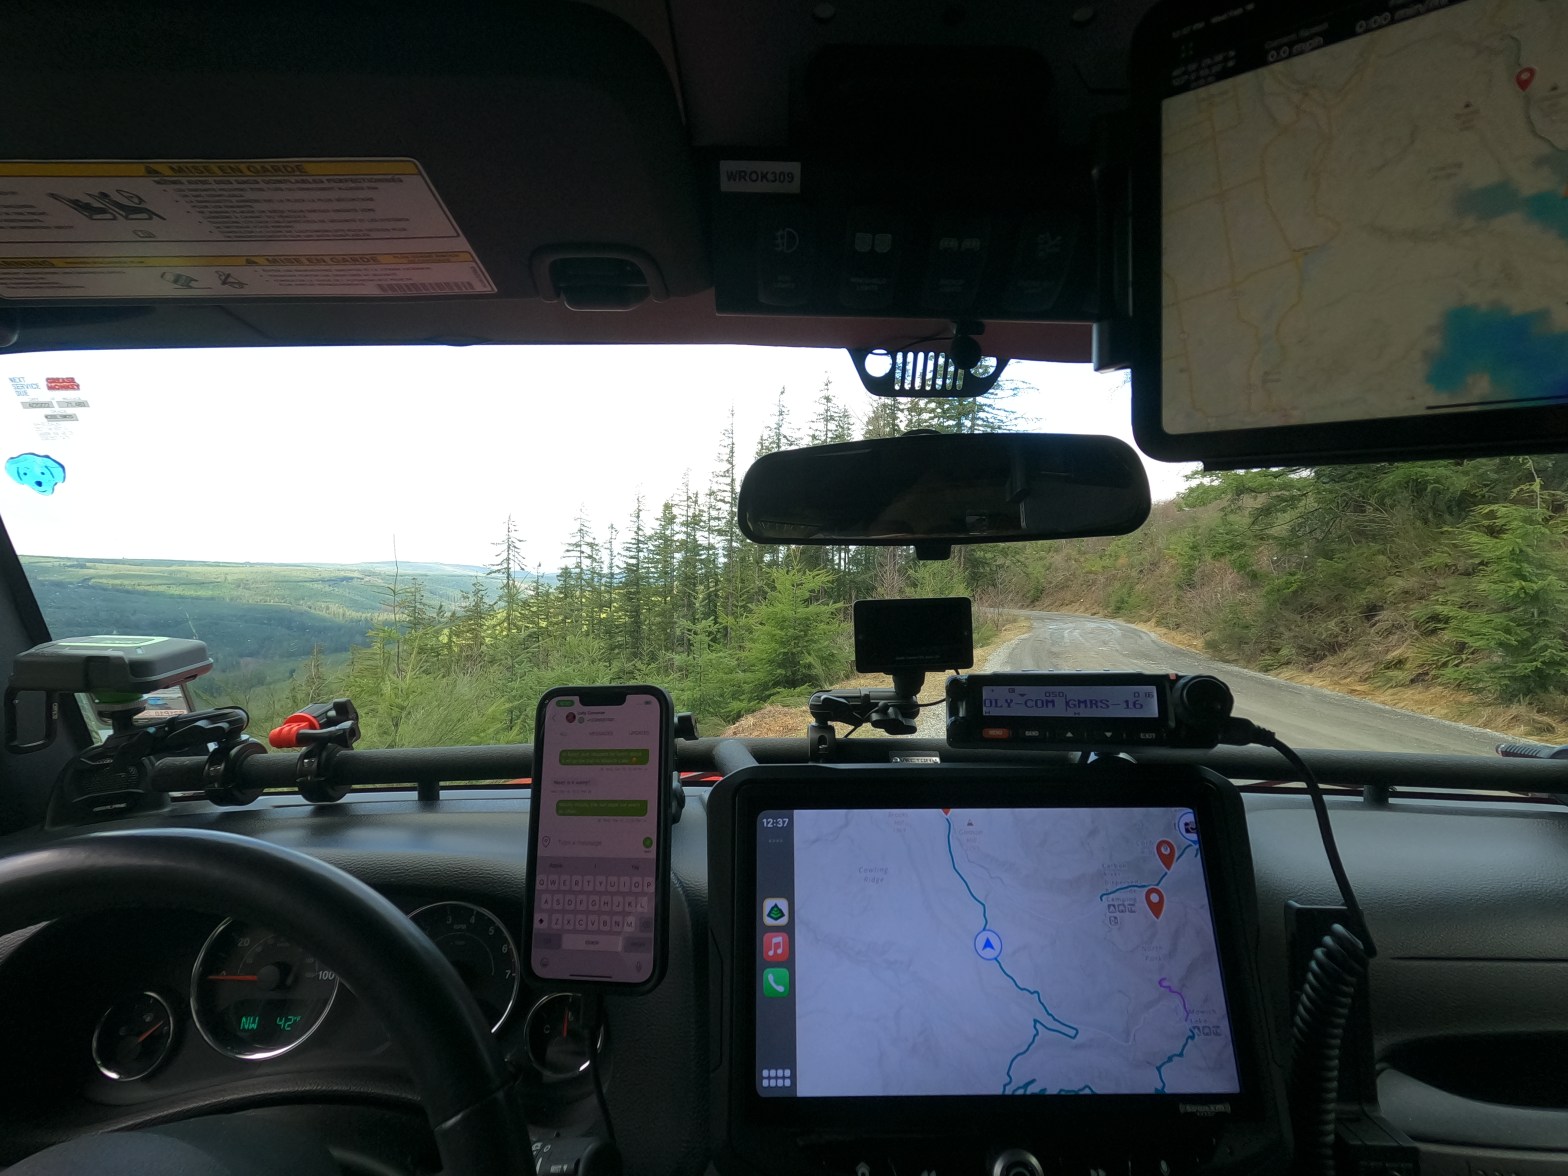
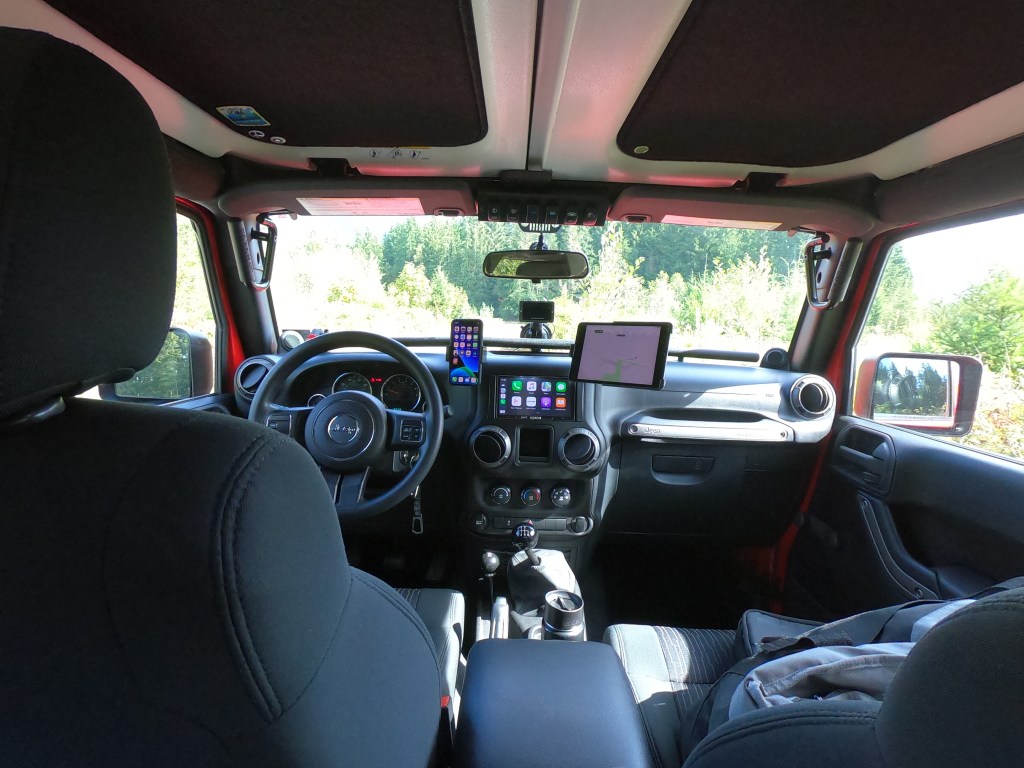
Interior Mods – mounting your gear
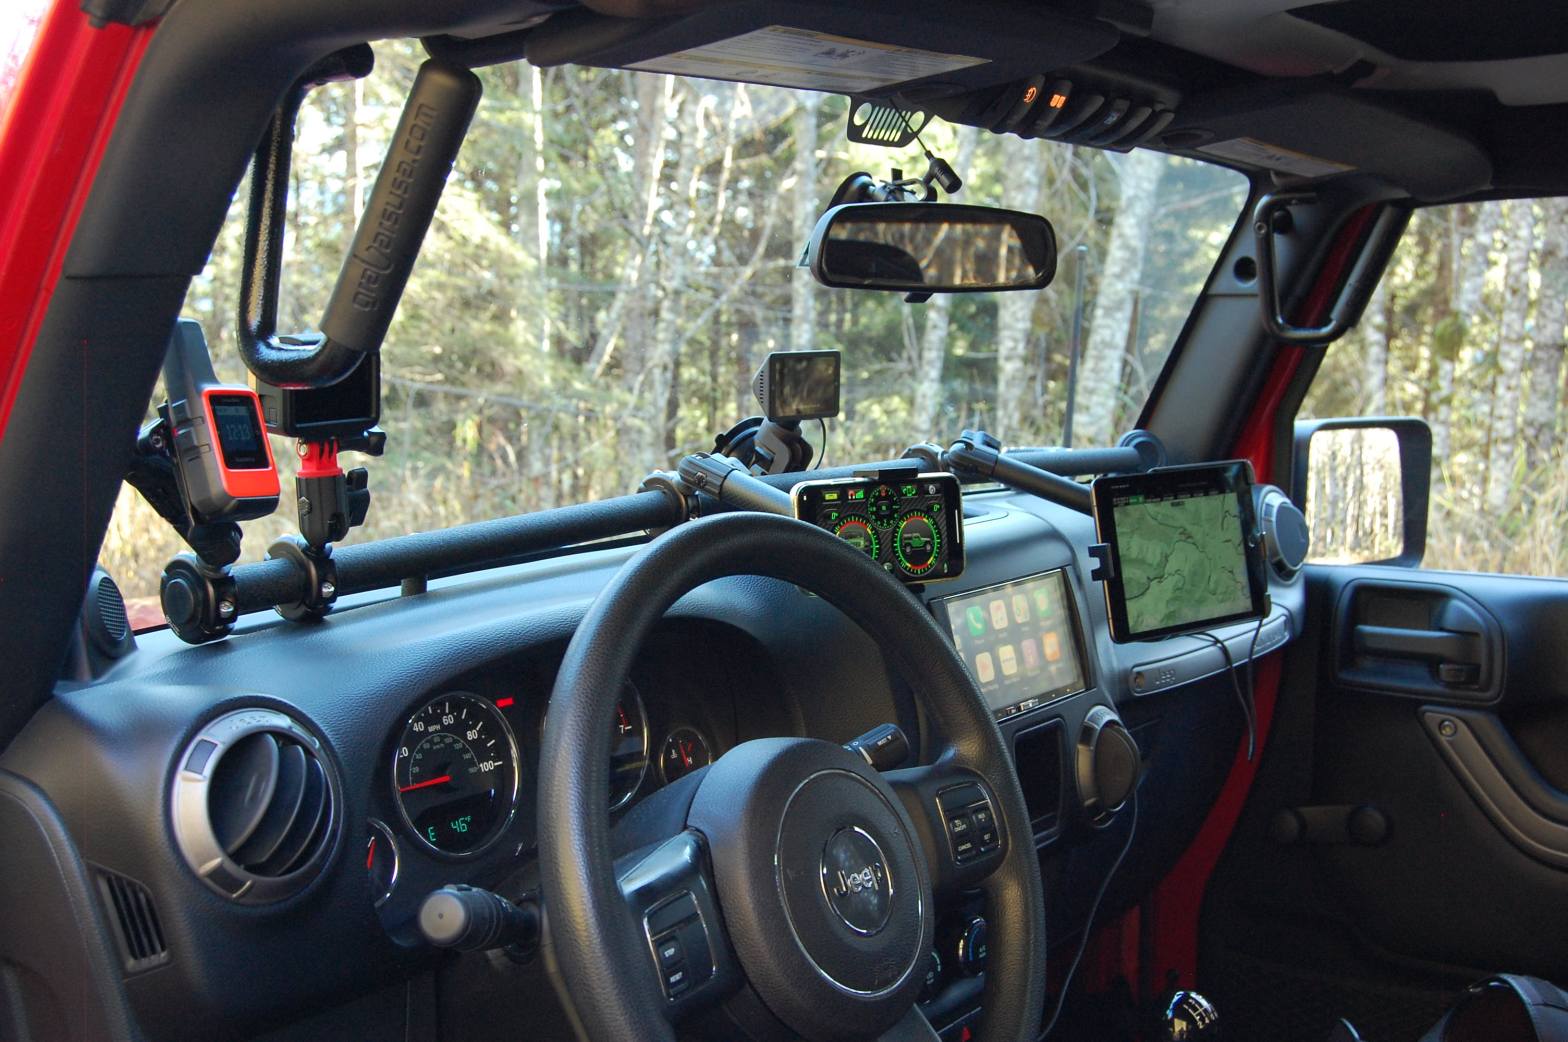
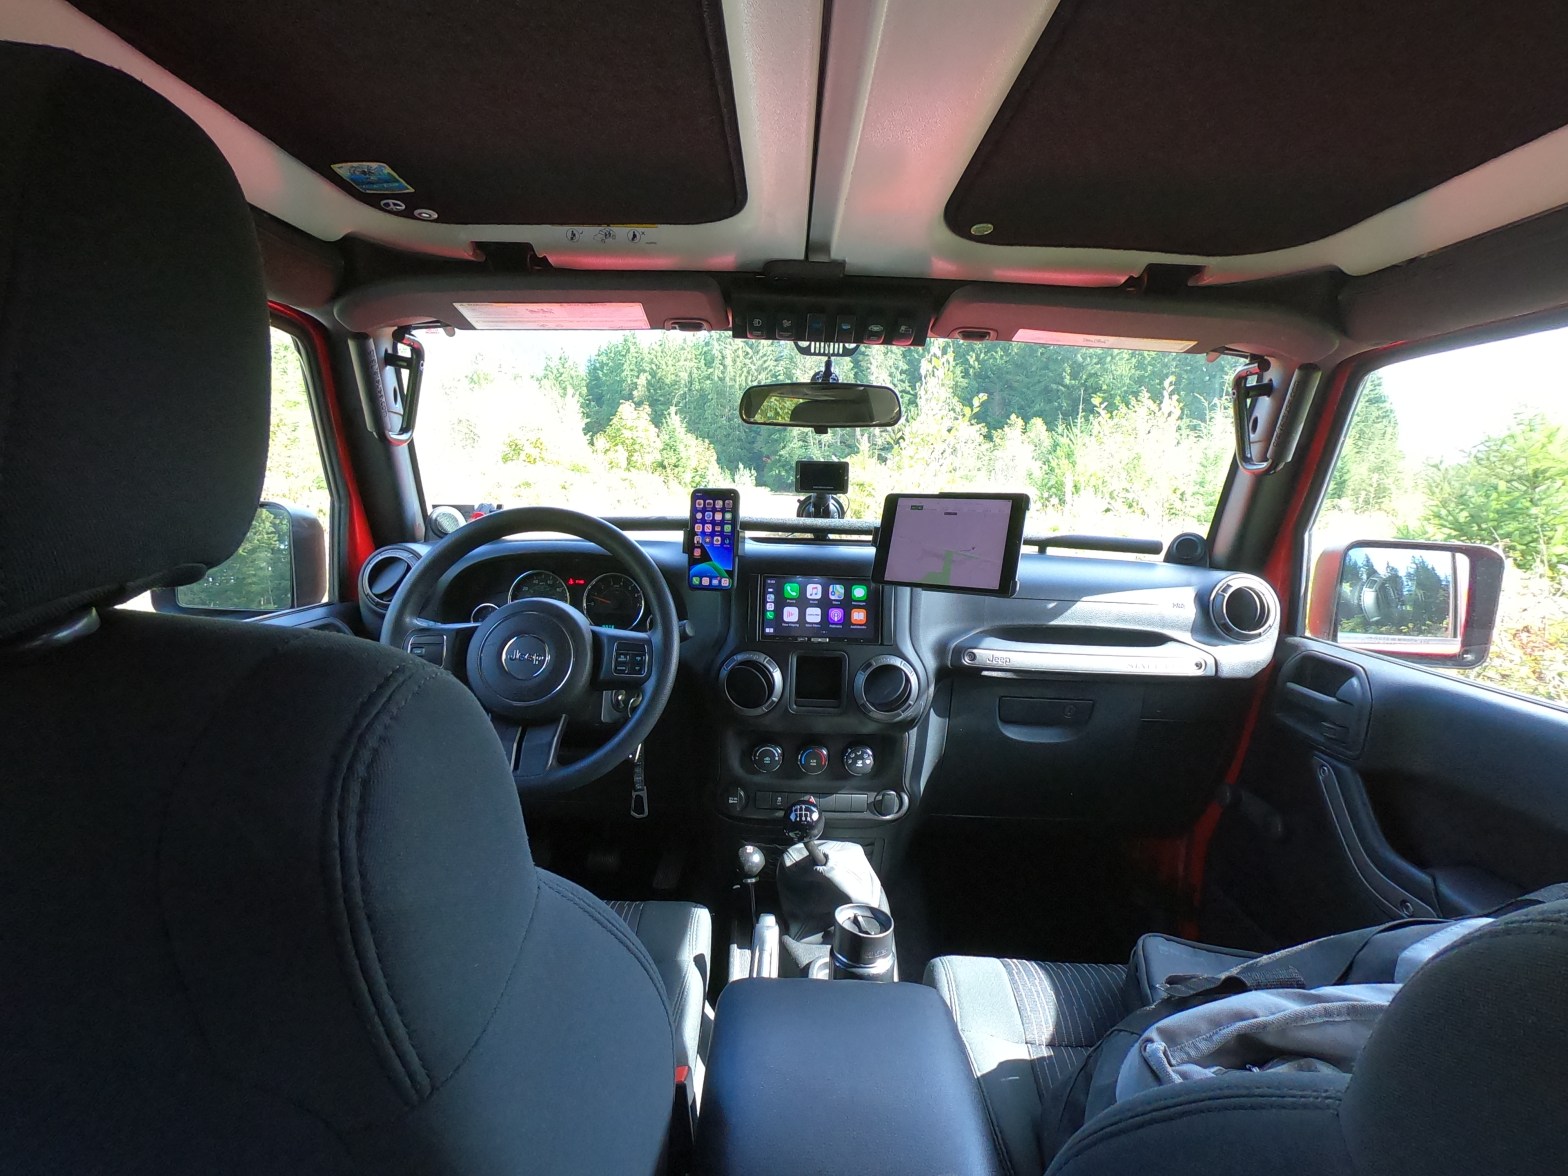
The picture below represents the current state of my communications and controls as of May 2020. I guess it also reflects the level of my love for gadgets. There are about 5 things here that I consider necessities and wouldn’t go on the trail without, but that’s just me. Let’s go over what everything is and what it does for me and you can decide if these are things you need or not. It’s going to take me awhile to get through all these mods but I wanted to get this posted to at least give you some product links. This 4th post will be continuing as 4.1 and 4.2 so I can work through the list of mods.
- Vector Offroad JK-E Dock
- 67 Designs Vector Bar Clamps, Carbon Fiber Arms and Various mounts.
- Garmin InReach Mini
- GoPro Hero 7
- Owl Cam
- Apple iPhone XS w/Smittybilt Clinometer App
- Apple iPad mini w/Gaia GPS App
- Alpine iLX-107 – Crutchfield
- 4×4 sPod Source
- GraBarsUSA Solid Steel JK Series
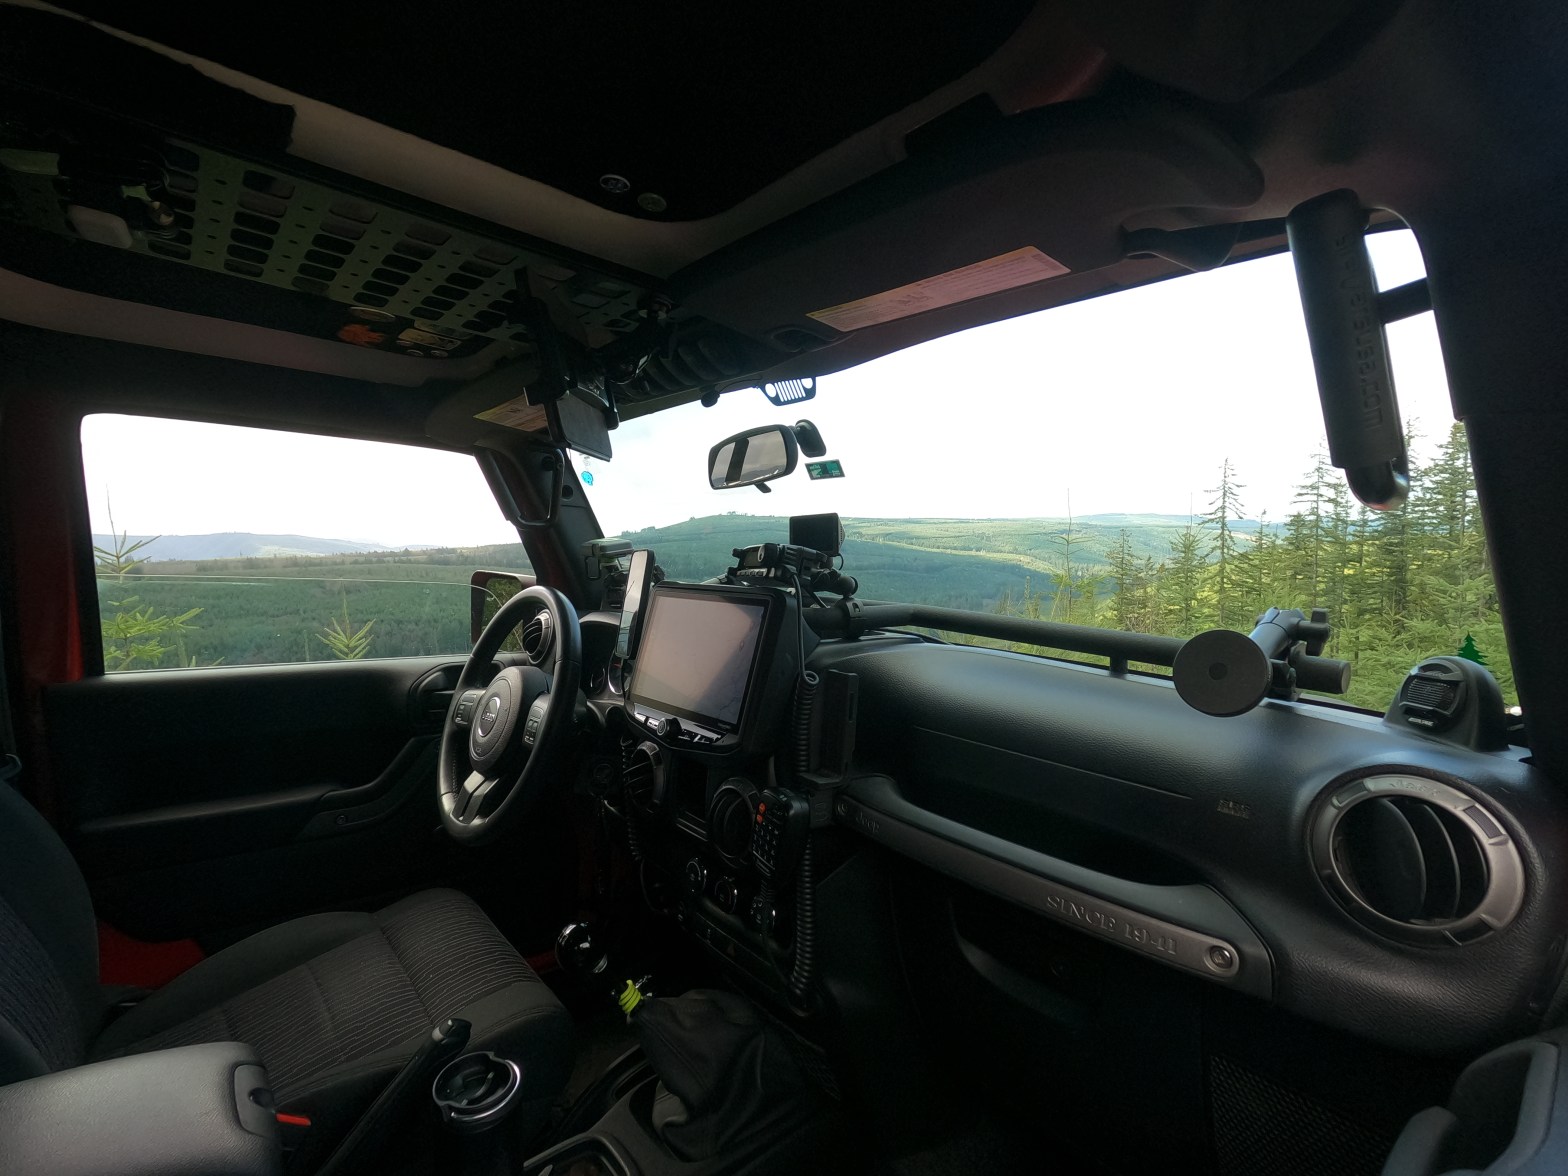
- Vector Offroad JK-E Dock – This was something that I knew I wanted from the moment I took delivery of Lucy. I had seen this on various builds and admired the adaptability of this to accept all my future off-road gadgets.


I first purchased Vector’s JK-E Dock which is the bar that you clamp your mounts to. The JK-E Dock has the D-shaped extrusion that offers additional bar surface. Once I got it installed I felt that it protruded into the cabin a little too much for my tastes and also interfered with the use of the dash storage tray so with a quick call to Vector Offroad, I got it swapped out with a second model that they call the “Alpine Restyle JK-E Dock” as it’s designed to accommodate Alpine’s Restyle system made specifically for JK Jeeps as seen below.
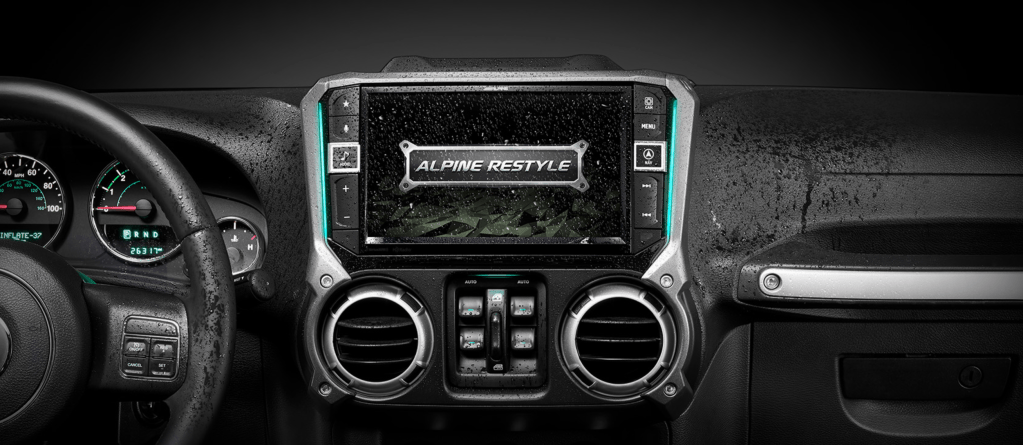
The JK-E Alpine Restyle Bar deletes the D-shaped bar section and is what I have to this day. This is one of the easiest installs you can do. It consists of removing two plastic screw covers on the dash and screwing in the metal posts that the bar attaches to. The bar and posts are finished in a high quality textured powder coat.
TIP – Don’t over tighten these posts as you can break off the the screws that are located deep in the dash. They need to be firmly tightened but you’ll know when you have it as the bar will be very solid when you’ve attached all the clamps and arms with your gadgets on them. The whole system will vibrate a bit when you go over bumps but not to the point of seeming flimsy.
2. 67 Designs Accessories
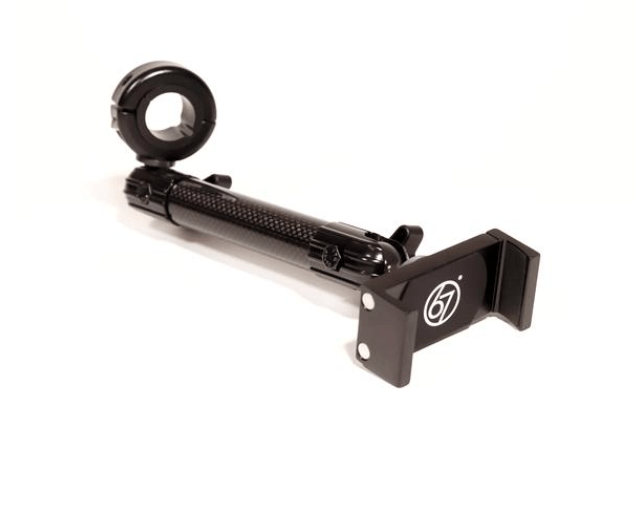
This is the E-Dock Bar Upgrade Pack from 67 Designs. It’s a great first buy for your bar that attaches most phones.
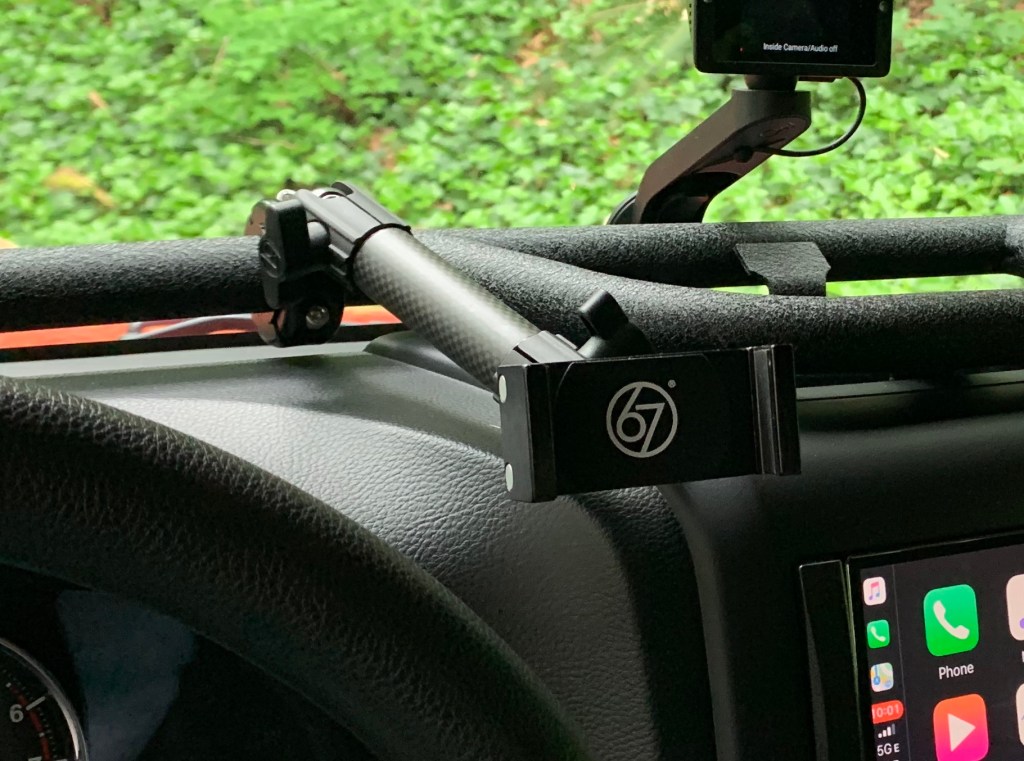


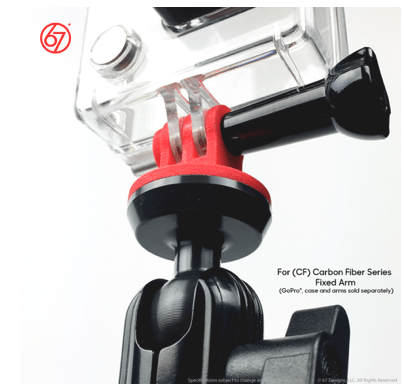
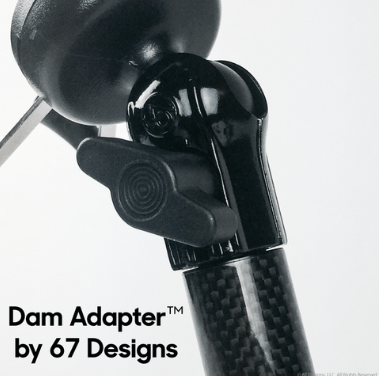
67 Designs offers many different mounts and adapters for the arms so you can mount just about anything you can imagine to the Vector Bar with the .78″ ball on the Vector Bar Clamp. The Dam Adapter allows you to mount anything that has a 1″ ball like the Ram Mount EZ-Roll’r cradle that I have for my iPad mini.
Share this:

Ready For Adventure
With everything cleaned up and the Alpine CarPlay installed, I was ready for adventure!
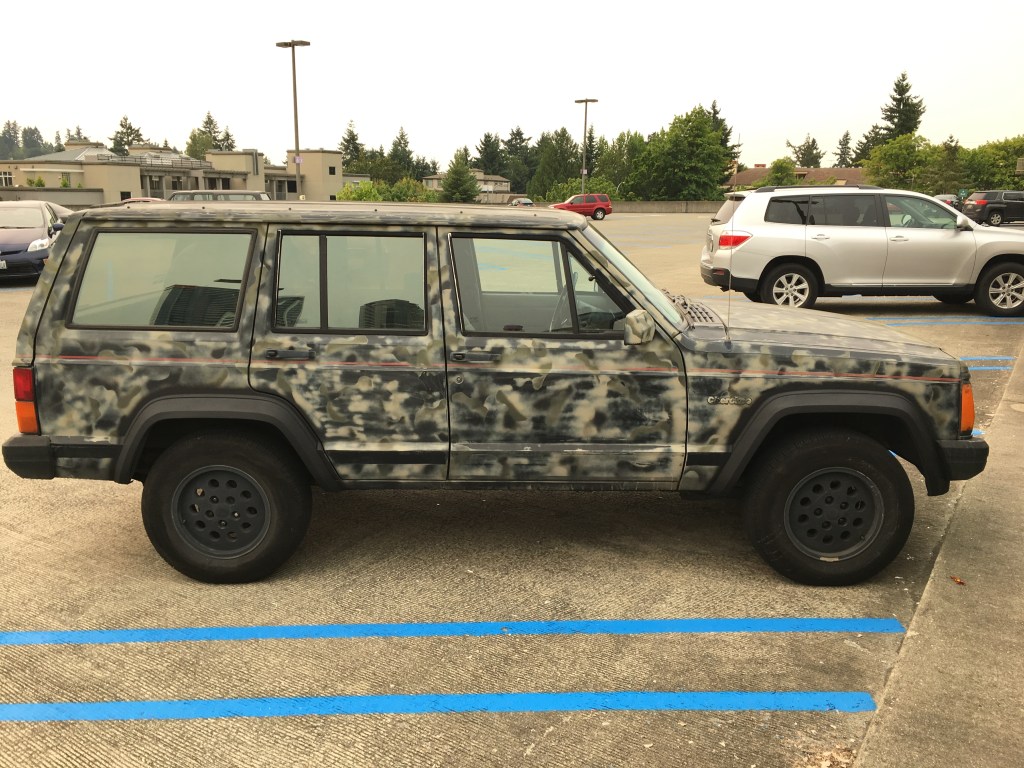
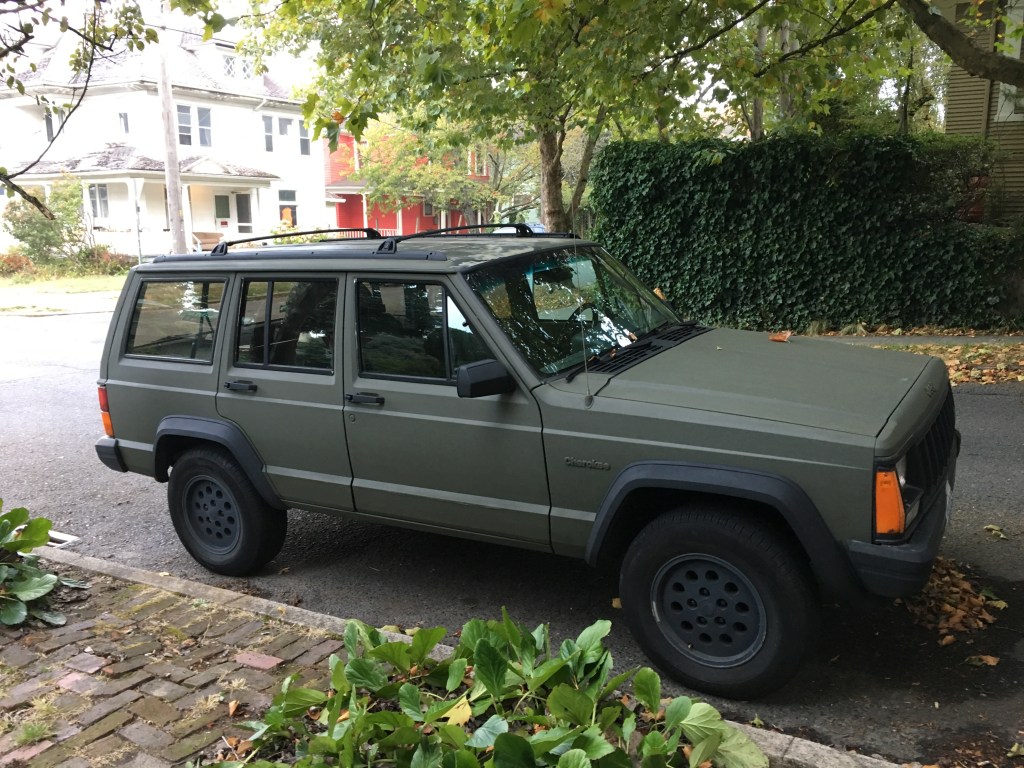
The journey that led up to this Jeep was an adventure unto itself. I had gone a few years without a car when another Jeep came along, “Oscar” was a 1993 2WD Cherokee that came to me in 2015 from a work friend. I was so excited for some cheap transportation and a Jeep to boot even if it was only 2WD. Oscar came with a rather unique paint job as you can see below. To help with re-sale, I rattle canned Oscar satin green with black trim. I definitely recouped the $60 in materials to make this a worth while project.
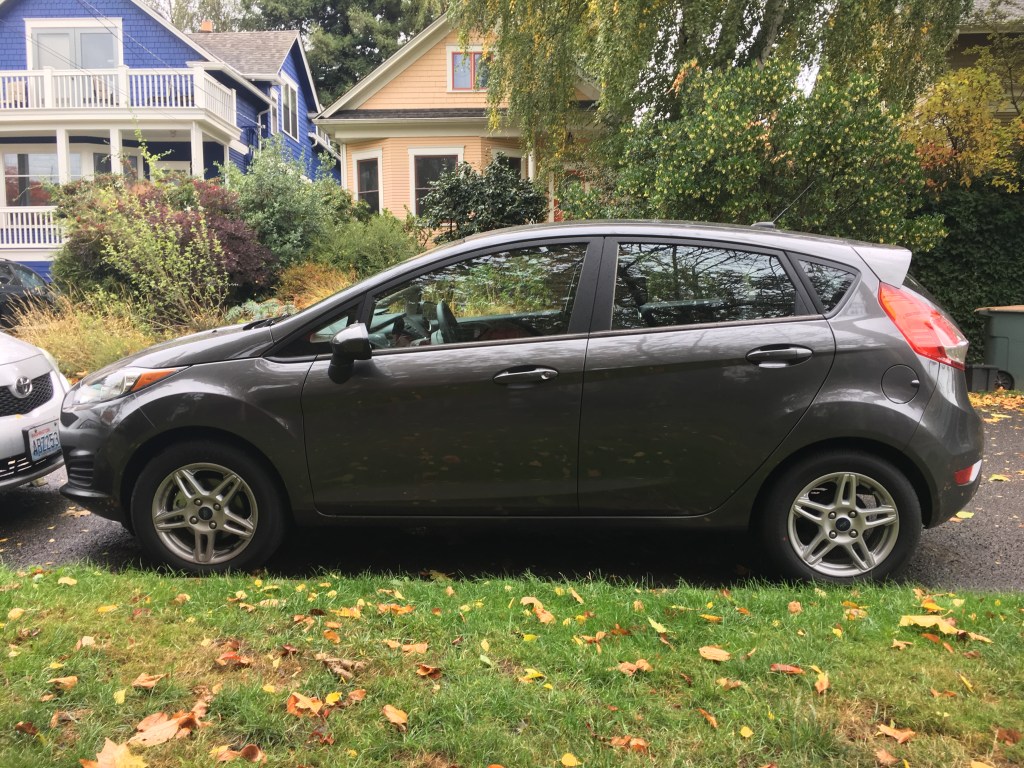
After a couple years of adventures in Oscar along with a new serpentine belt, new wiper motor, new heater core, new tires and countless bits and pieces here and there, we were blessed with a the gift of a brand new Ford Fiesta Hatchback. It wasn’t exactly my dream car but I absolutely loved it and loved having a new, repair free vehicle.
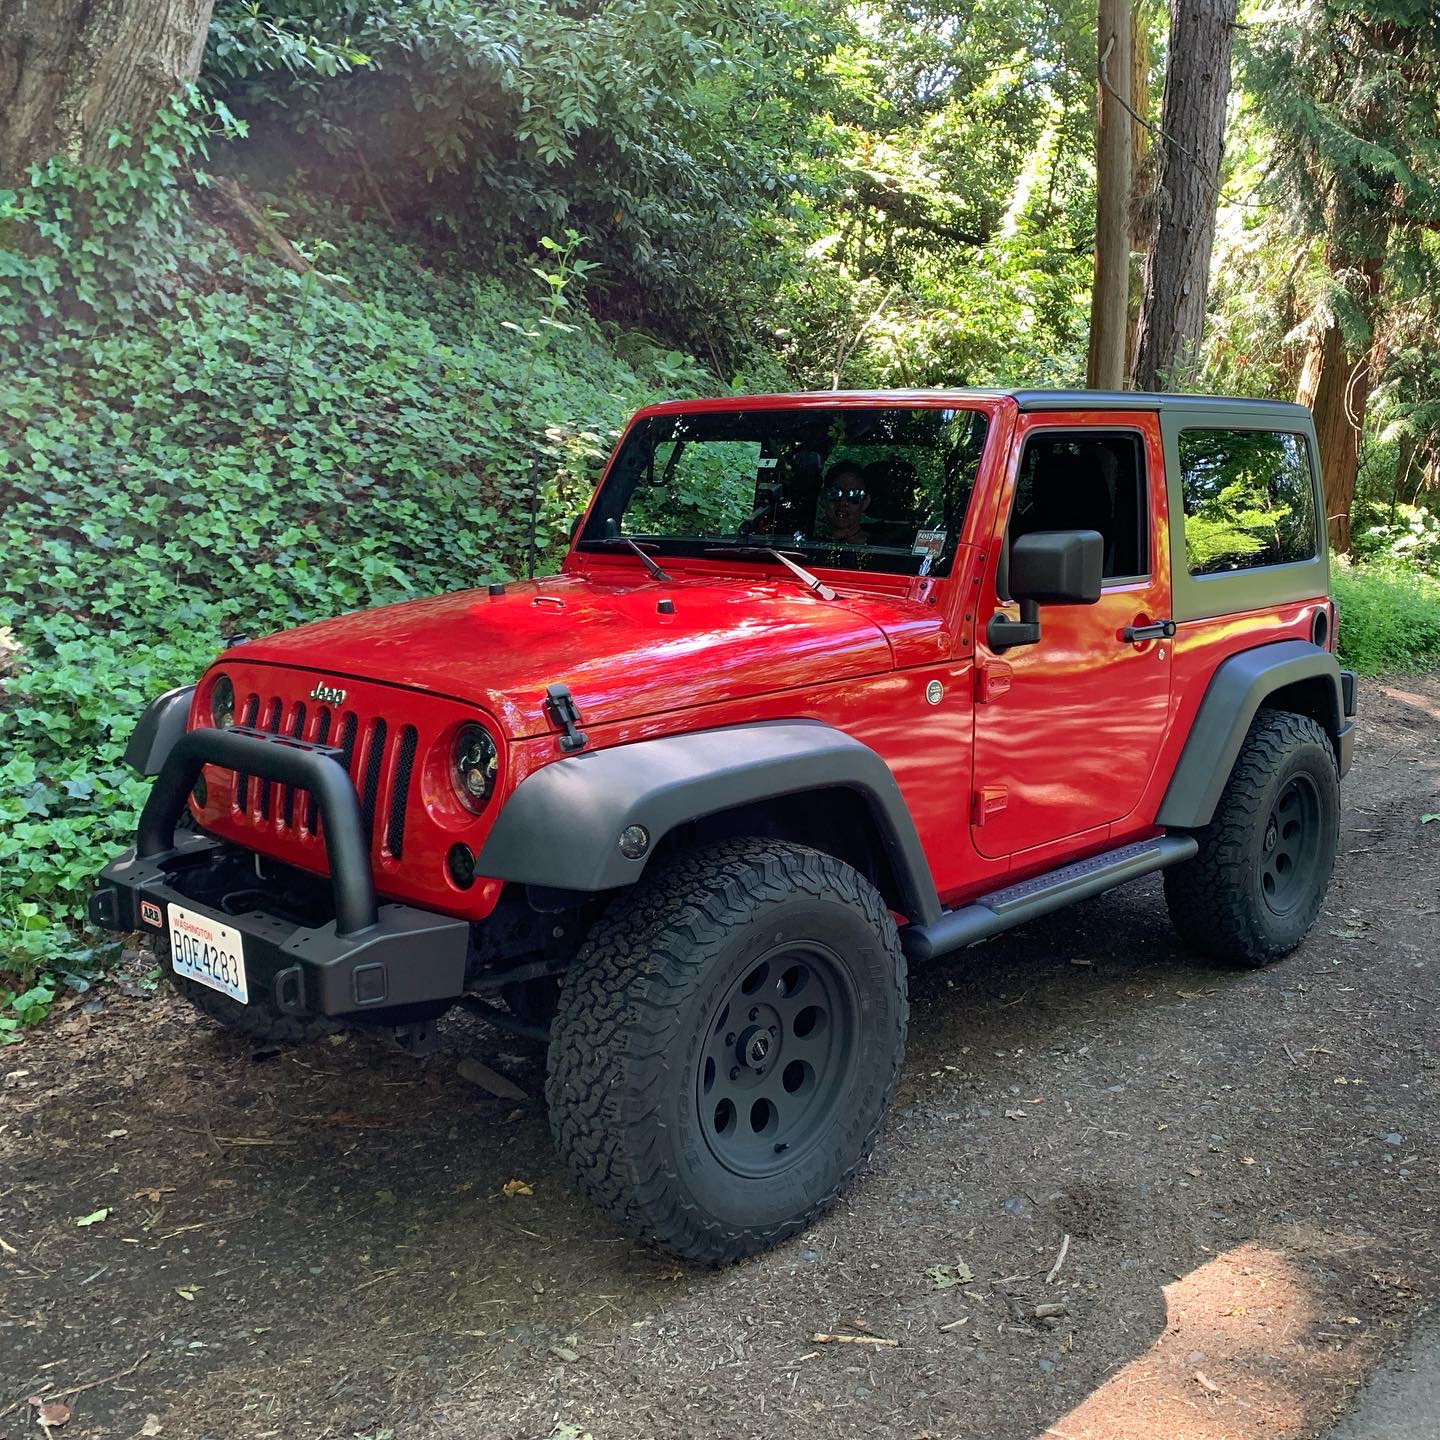
When this Jeep came along a year later, I knew now that I could start to wander farther and farther into the woods. At first I kept to my established habit of a leisurely drive to a favorite hiking trail for a day in the mountains. But soon, I started wandering up the Forest Service roads and started to get an idea of what I needed to make a more trail capable vehicle and began to formulate what the build would look like.

Don’t forget to subscribe! Get new content delivered directly to your inbox. I’ll let you know when I add more info, adventures and tips.
BUILD TIP – I know how exciting it is for us new Jeep owners to start with our builds right away! Suspensions, tires, wheels, winches and on and on…. so much stuff to make our Jeep OURS! The ability to mod your jeep is just one of the reasons we all love Jeeps but taking the time to understand what you’re going to use your Jeep for will help you make the right decisions with your purchases. One of the reasons I wanted to highlight Good and Bad decisions in my Blog.
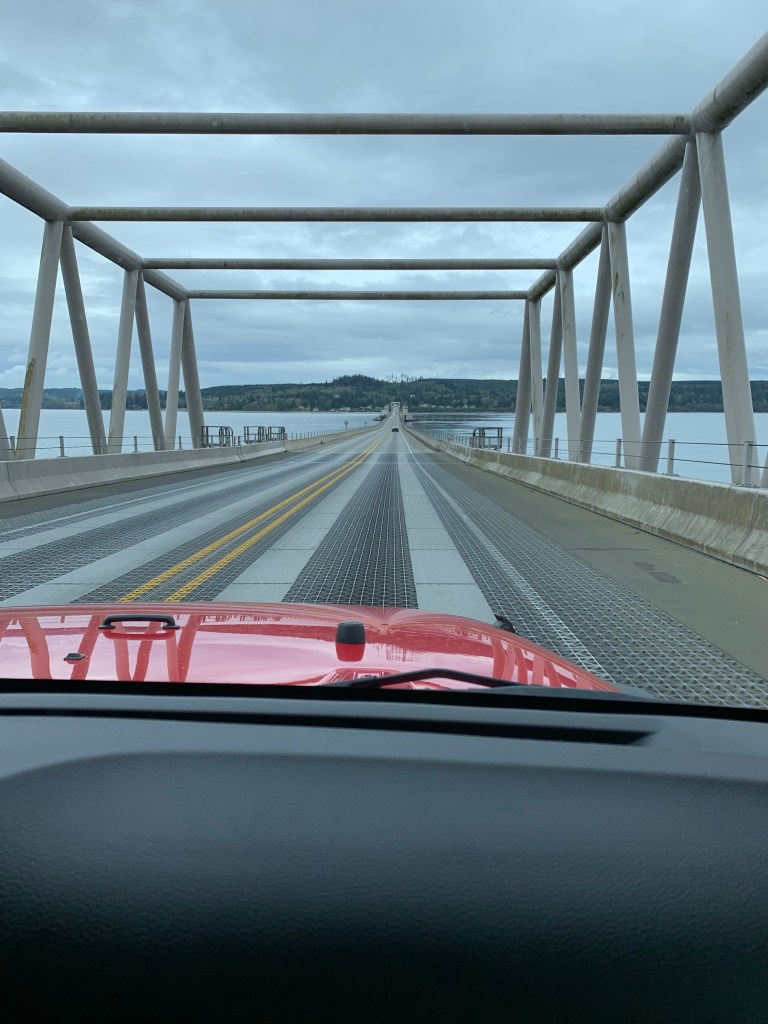
Hood Canal Bridge